PLAYER GUIDE
MASTER THE APOCALYPSE
Survive the zombie apocalypse with the definitive player guide. We break down your options and the varied, interdependent systems in a meaningful way so you can optimize your playthrough experience.

Click to download in your preferred language!
Download PDF • 下载 • Télécharger le PDF • PDF Herunterladen
baixar PDF • Скачать • Descargar PDF • Scarica il pdf
Welcome to State of Decay 2:
Juggernaut Edition
We’re glad you’re here to travel with us through the zombie apocalypse. You will be building a community to survive the threats posed by a plagued open world. Your choices matter as you take on the apocalypse – survivors die permanently, humans can be friends or foes, and choosing your method of survival matters. We have prepared some explanations for areas of our game that players sometimes have questions about.
Step One:
Define Your Apocalypse
Standard Zones
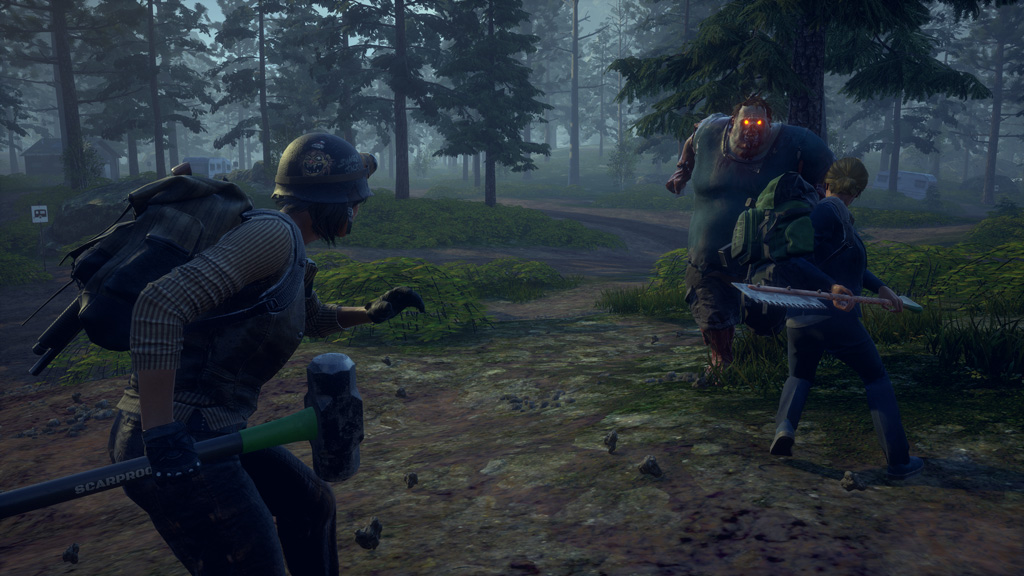
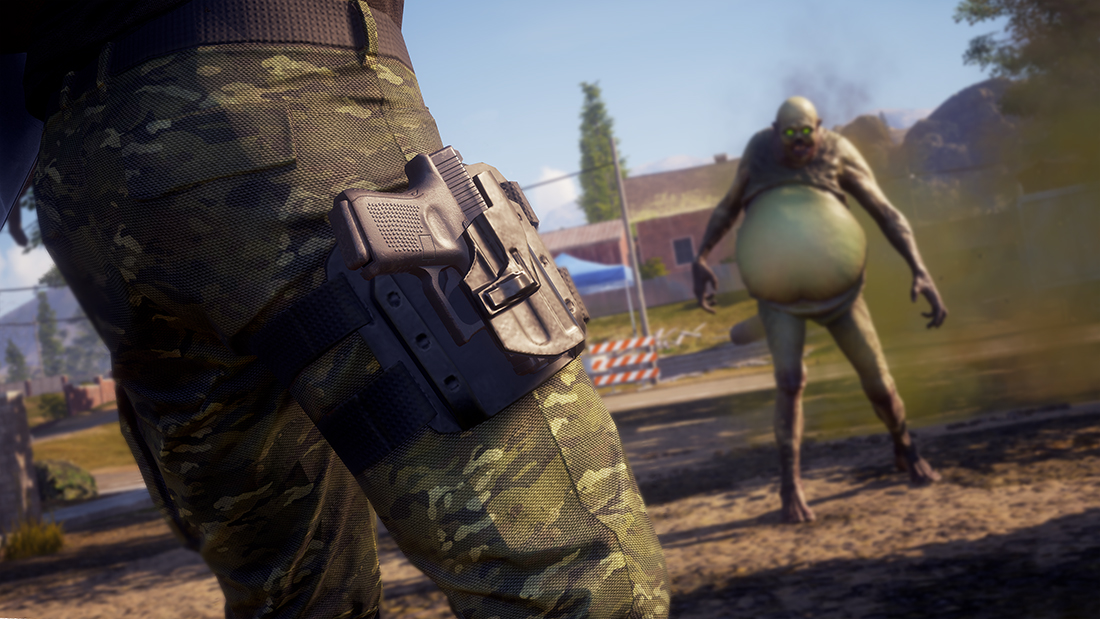
This difficulty level is for players who are new to State of Decay 2. Playing in a Standard Zone should provide you with some challenge without overwhelming you (unless you get unlucky or make some mistakes). Most of the zombies roaming around the world are classic “slow shamblers,” but you’ll also encounter some fast zombies and armored zombies. As you explore you’ll encounter greater threats, including zombie hordes as well as occasional freak zombies (bloaters, screamers, ferals, and juggernauts). Enclaves of hostile humans also represent an occasional danger, requiring good tactics (or at least good aim) to overcome.
Dread Zones
Dread zones are intended for survival game veterans. Resources are scarcer, making it harder to feed, equip, and maintain your community of survivors. Facilities are more expensive to build and use. Vehicles are more fragile, limiting your ability to mow through endless hordes. The zombie threat is also deadlier, heightening the stakes of every scavenging run. For example, freak zombies are more common, and the standard juggernaut is replaced with a plague-infected version that’s particularly nasty. The plague hearts that you must destroy to protect your town are tougher and better protected. Hostile humans become deadlier and harder to defeat, making them a much more significant threat to survival.
Nightmare Zones
Nightmare zones provide our most terrifying apocalypse experience for our most experienced players. In addition to all the increased challenges detailed for Dread Zones, these areas feature larger zombie hordes, wandering groups of freak zombies, and more plague hearts to defeat. Nightmare Zones offer very little room for errors, making them the ultimate test for confident, experienced players.
step two
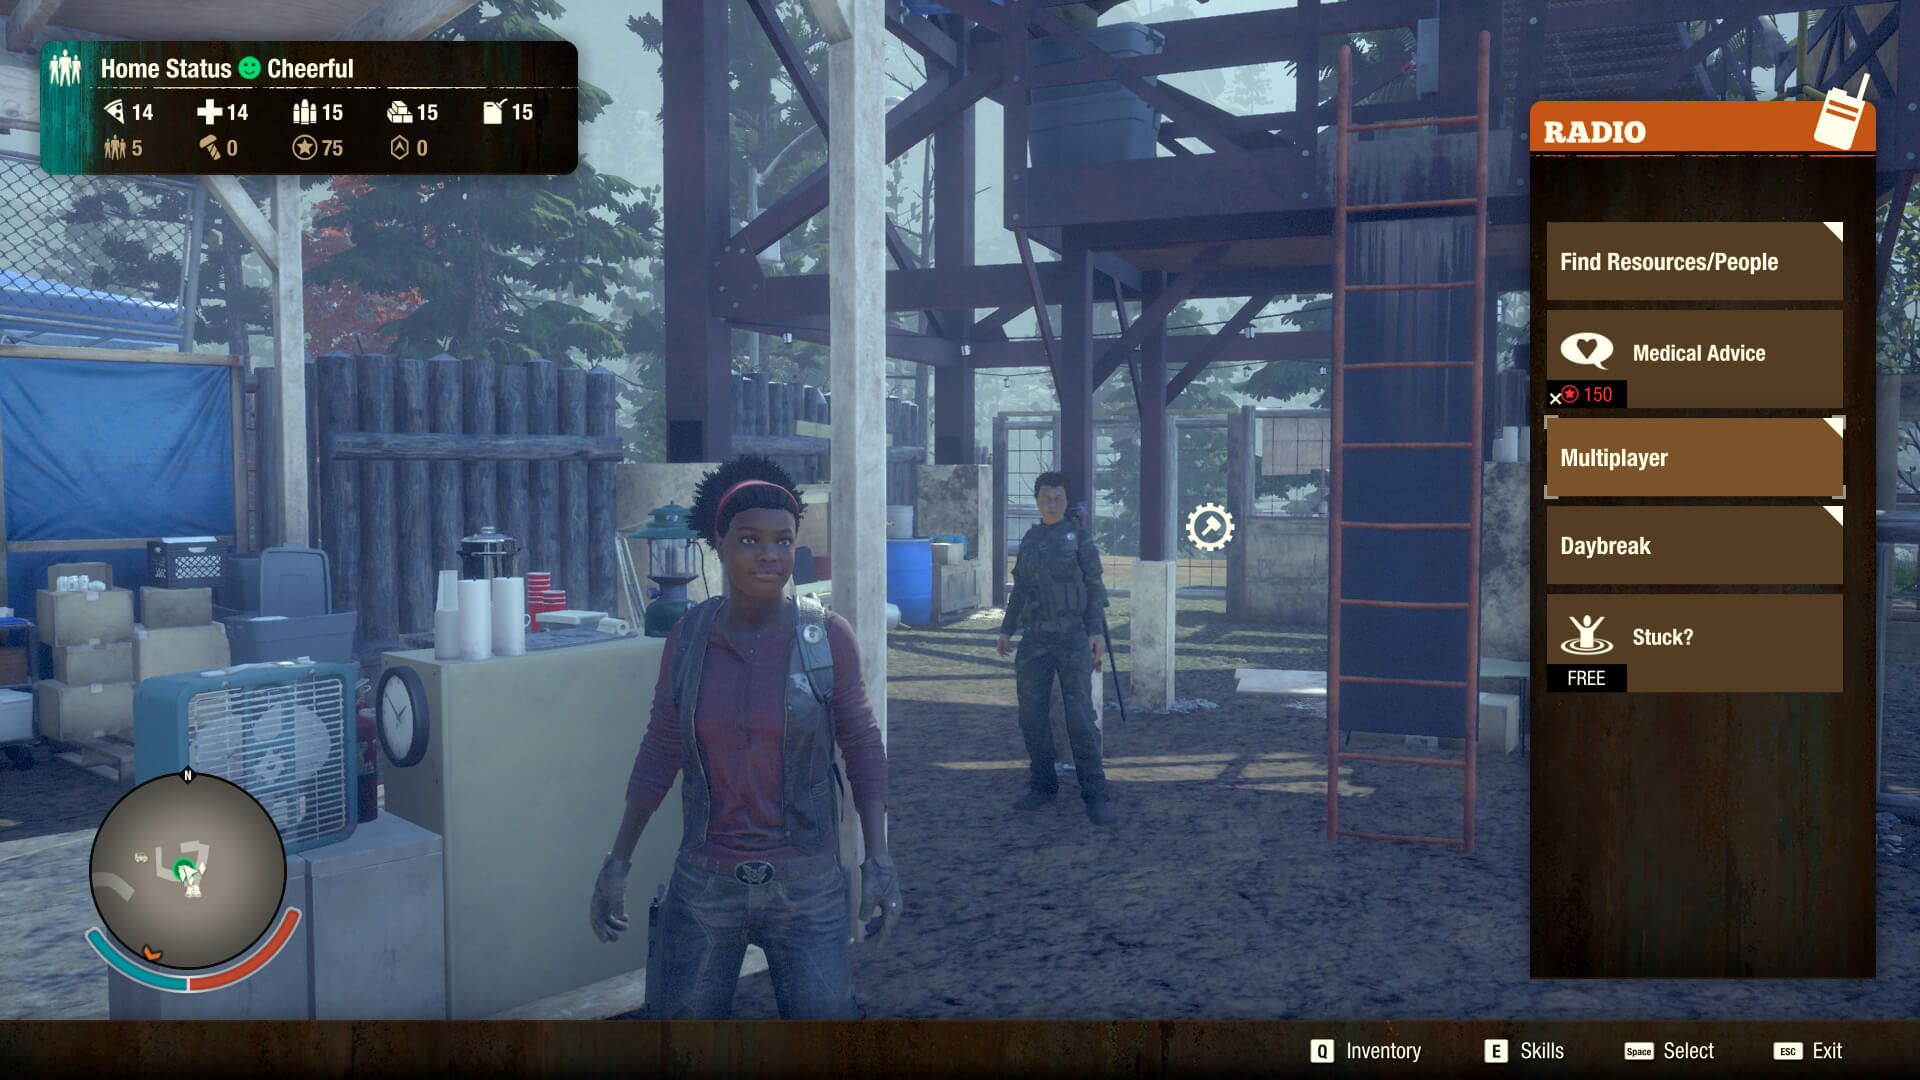
Using Your Radio
The ability to communicate is a key part of surviving the apocalypse. When using your radio, you can look for supplies, call for help, search for other survivors (even other players) to help, and even get out of the occasional sticky situation.
Multiplayer
If you are in need of help, you have a “Call for Help” button in your radio menu. This will search for other players who are willing to help you survive the apocalypse. If your community is strong, you can also “Volunteer” to help someone who is in need of assistance. This helps you connect with random matches, not with your friends. (See the section on multiplayer at the end of this document)
Supplies & Survivors
If you are running low on supplies, you can reach out to your neighbors via the Radio to look for types of resources you may be lacking. This includes people. If you need to find more people to recruit to your community, you might be able to find help over the air waves.
Other Commands
As you add facilities, facility mods, outposts, and allies to your community, you will also find new options in your radio. Experiment a little and enjoy discovering what you can do with the handy little communications device.
The “Stuck?” Command
As much as we might not like to admit it, sometimes characters and vehicles get stuck. If you run into that problem with a character, open the Radio menu, scroll to the bottom, and choose the “Stuck?” command. This command should send you to a place where you are no longer stuck. It also works if you are in the driver seat of a vehicle.
STEP THREE
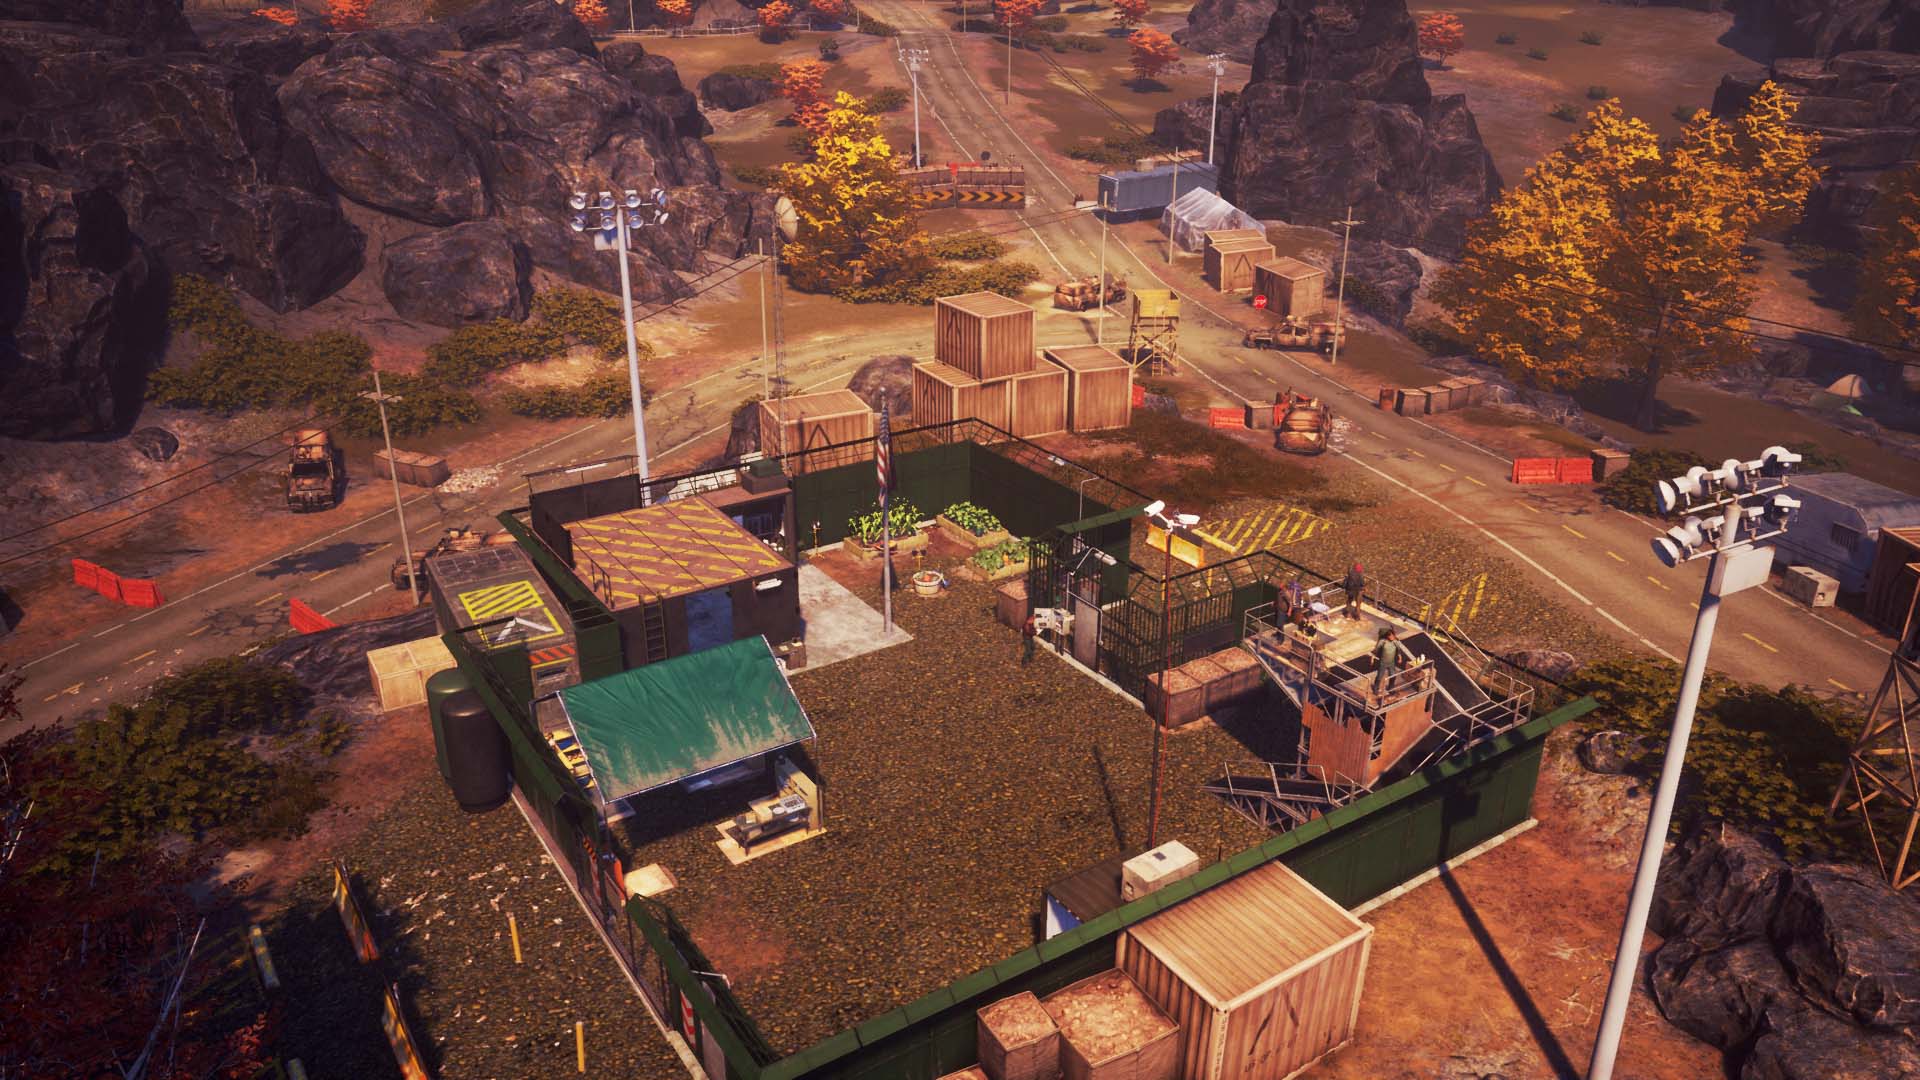
Fortifying Your Home
No matter how strong the survivor, everyone needs a place to call home. Fixing up your home and turning it into the ultimate apocalypse-survival base is an exciting and critical part of the game.
Every base is a collection of facilities, each of which performs a number of related functions. For example, the Infirmary allows you to keep your characters healthy in a variety of ways, while a Kitchen facility lets you make snacks and ration your food supply.
When deciding which facilities to construct in your base, the choices can be intimidating. If you’re not sure what to build next, use these suggestions to guide you through your options.
Start with the Facilities You Need Most
The game’s tutorial starts you with a base that has an existing Infirmary, and the first facility you’re directed to construct is a Workshop. That’s because these two facilities are the pillars upon which your community thrives. The Infirmary keeps your survivors healthy, and the Workshop keeps your weapons in good repair. Without these two facilities, it’s hard to survive for long.
A place for everyone to sleep is the next most important addition to your base. If you’re short on beds, your survivors get cranky. The simple method is to construct a facility that adds beds (such as Sheltered Beds or Outdoor Beds). Unfortunately, this takes up valuable real estate that you’ll eventually want for other facilities. Another solution is to find a nearby location that offers beds as an Outpost Effect, and claim that site as an outpost.
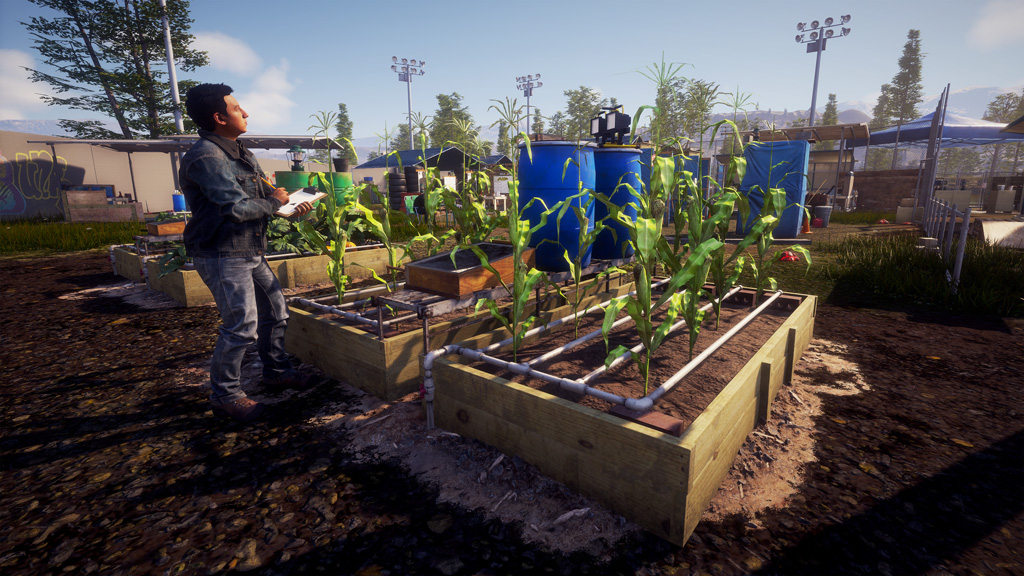
Another useful function of your facilities is to produce food. Your survivors consume a lot of food (usually 1 unit per survivor per day), and if you’re not growing food at home you’ll have to scavenge for it. The first food-producing facility you’ll likely build is a Garden, but later on you might construct Hydroponics or Farms. These facilities become even more effective when you upgrade them (see Upgrading a Facility, below), but you’ll need a survivor who knows Agriculture or Herbalism (specializations of the Gardening skill) to fully upgrade these facilities.. Hydroponics do not need to be upgraded, but the facility has high requirements in order to access it. You can also claim outposts that offer food income, but these aren’t as efficient as having a good food-producing facility (or two) inside your base.
Explore Other Facility Options
Once these essentials are met for your community, explore how the other facilities will help you pursue your preferred strategies or achieve your goals. Your choice of facilities can have a big impact on your survival!.
Note that some of the more powerful facilities can only be built in large facility slots. You’ll find these slots in other bases around the map.
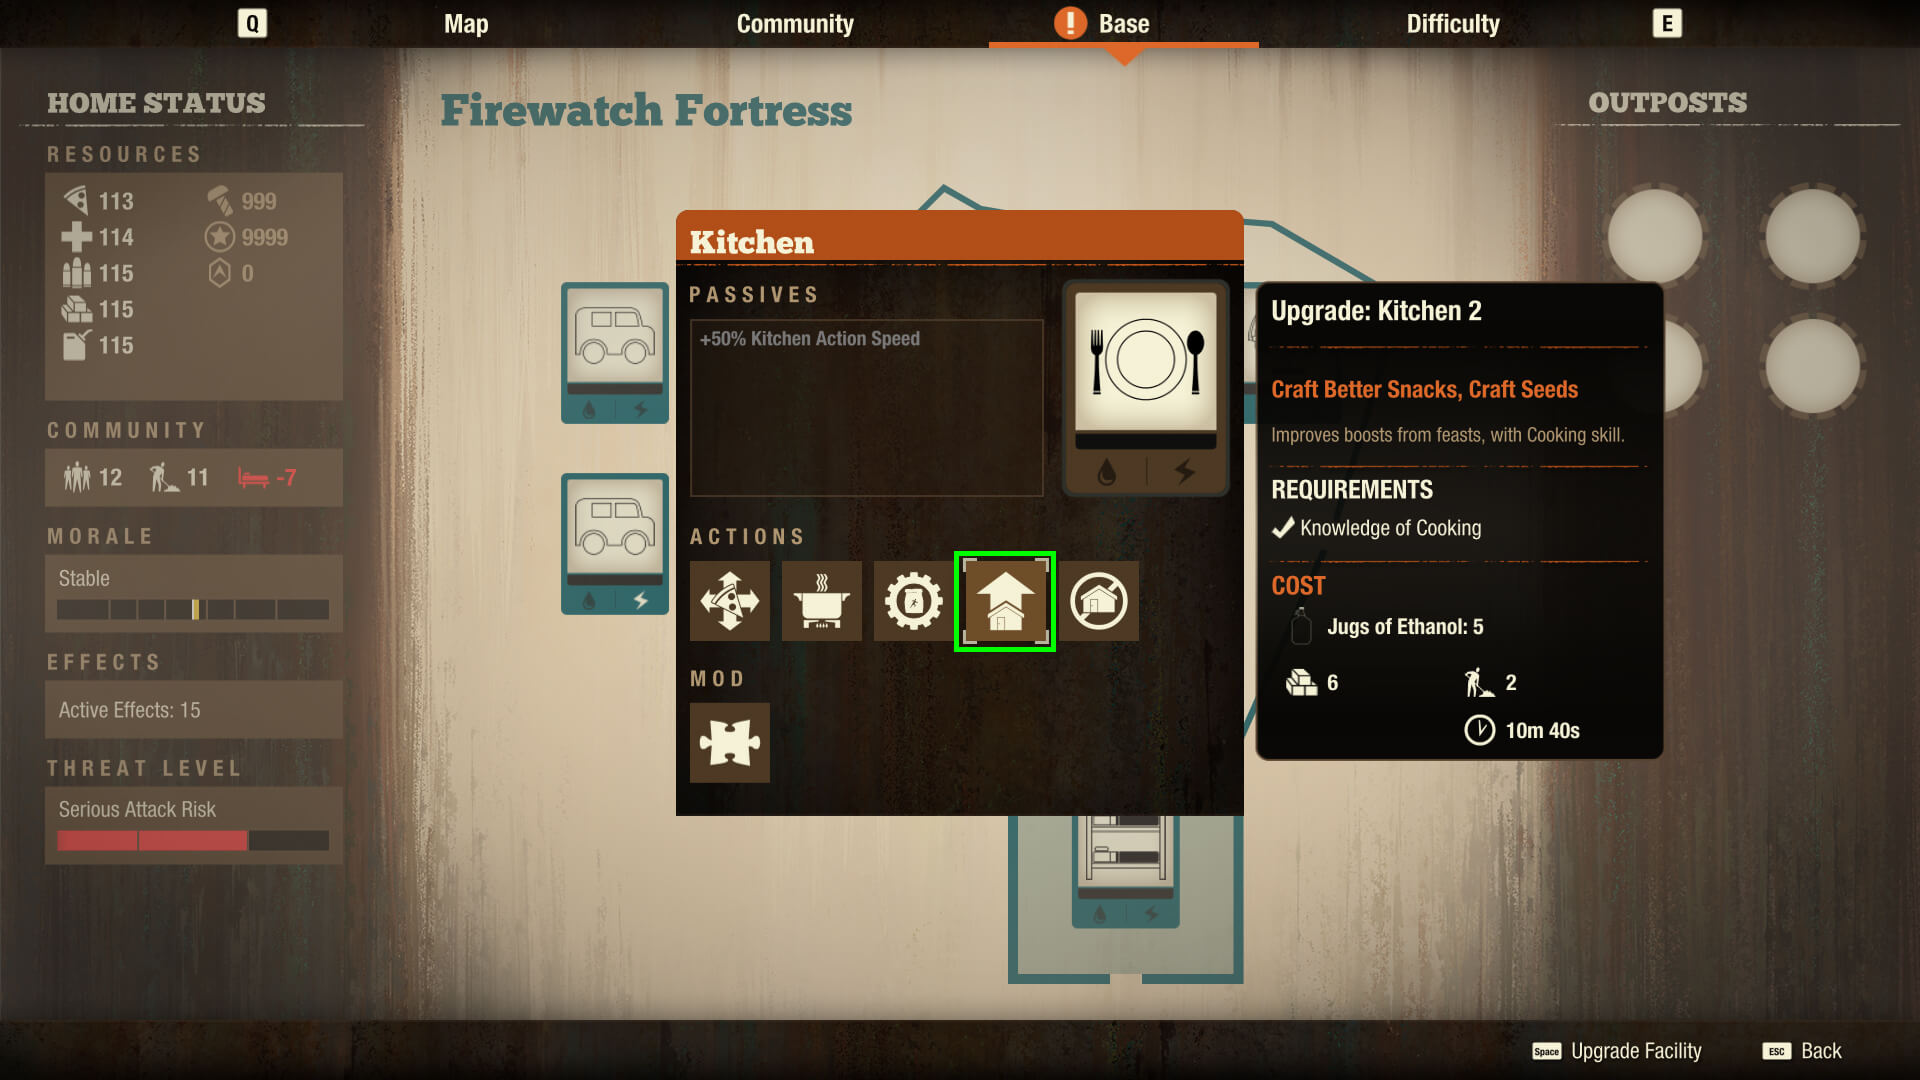
Upgrading a Facility
Many facilities can be upgraded to provide increased benefits. When viewing a facility on your Base screen, look for an “arrow-up” icon to see if that facility can be upgraded. Highlighting this icon shows you the benefits of that upgrade. It also lists the cost to upgrade that facility, as well as any special requirements you must meet (such as knowledge of a skill). You can’t afford to upgrade everything right away, so be mindful of your community needs when selecting when to upgrade a facility.
Find the Supplies You Need
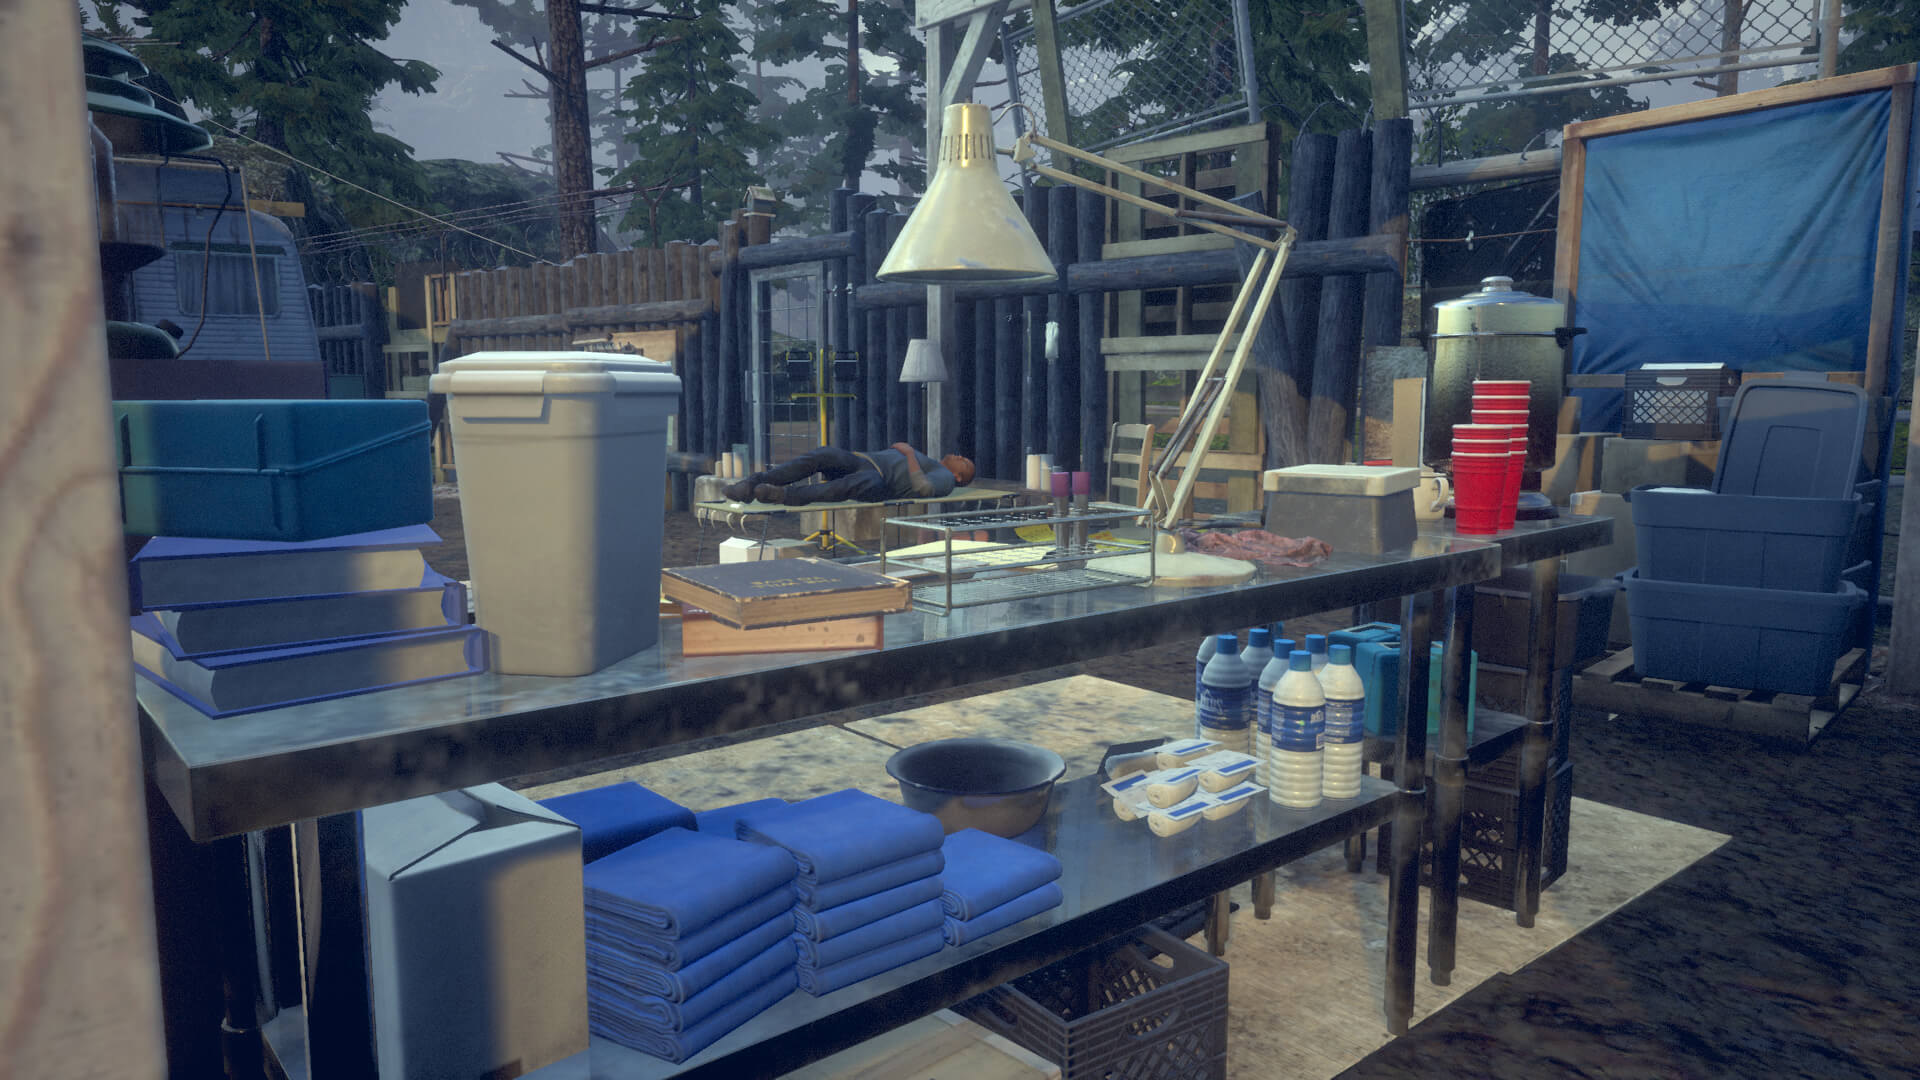
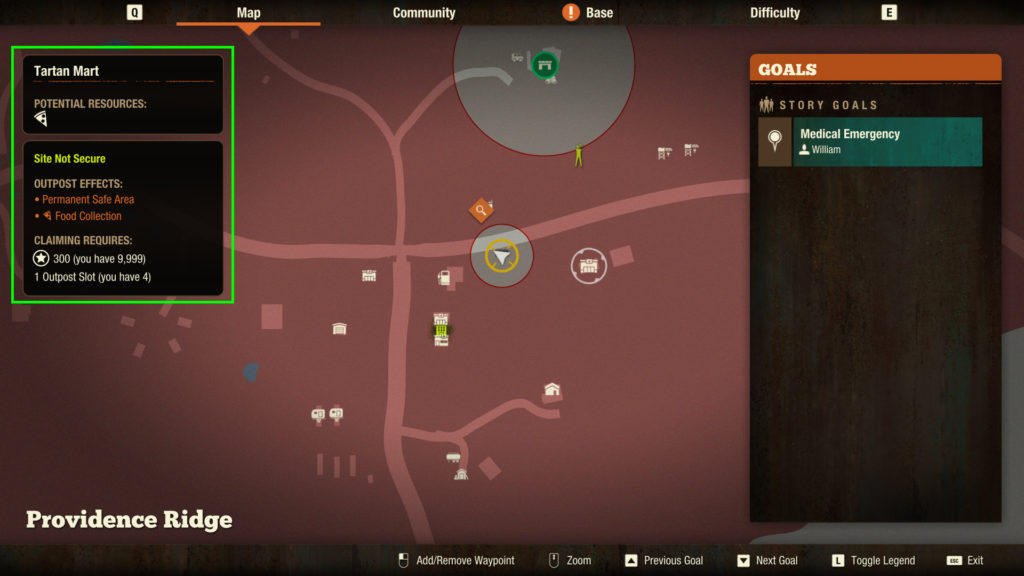
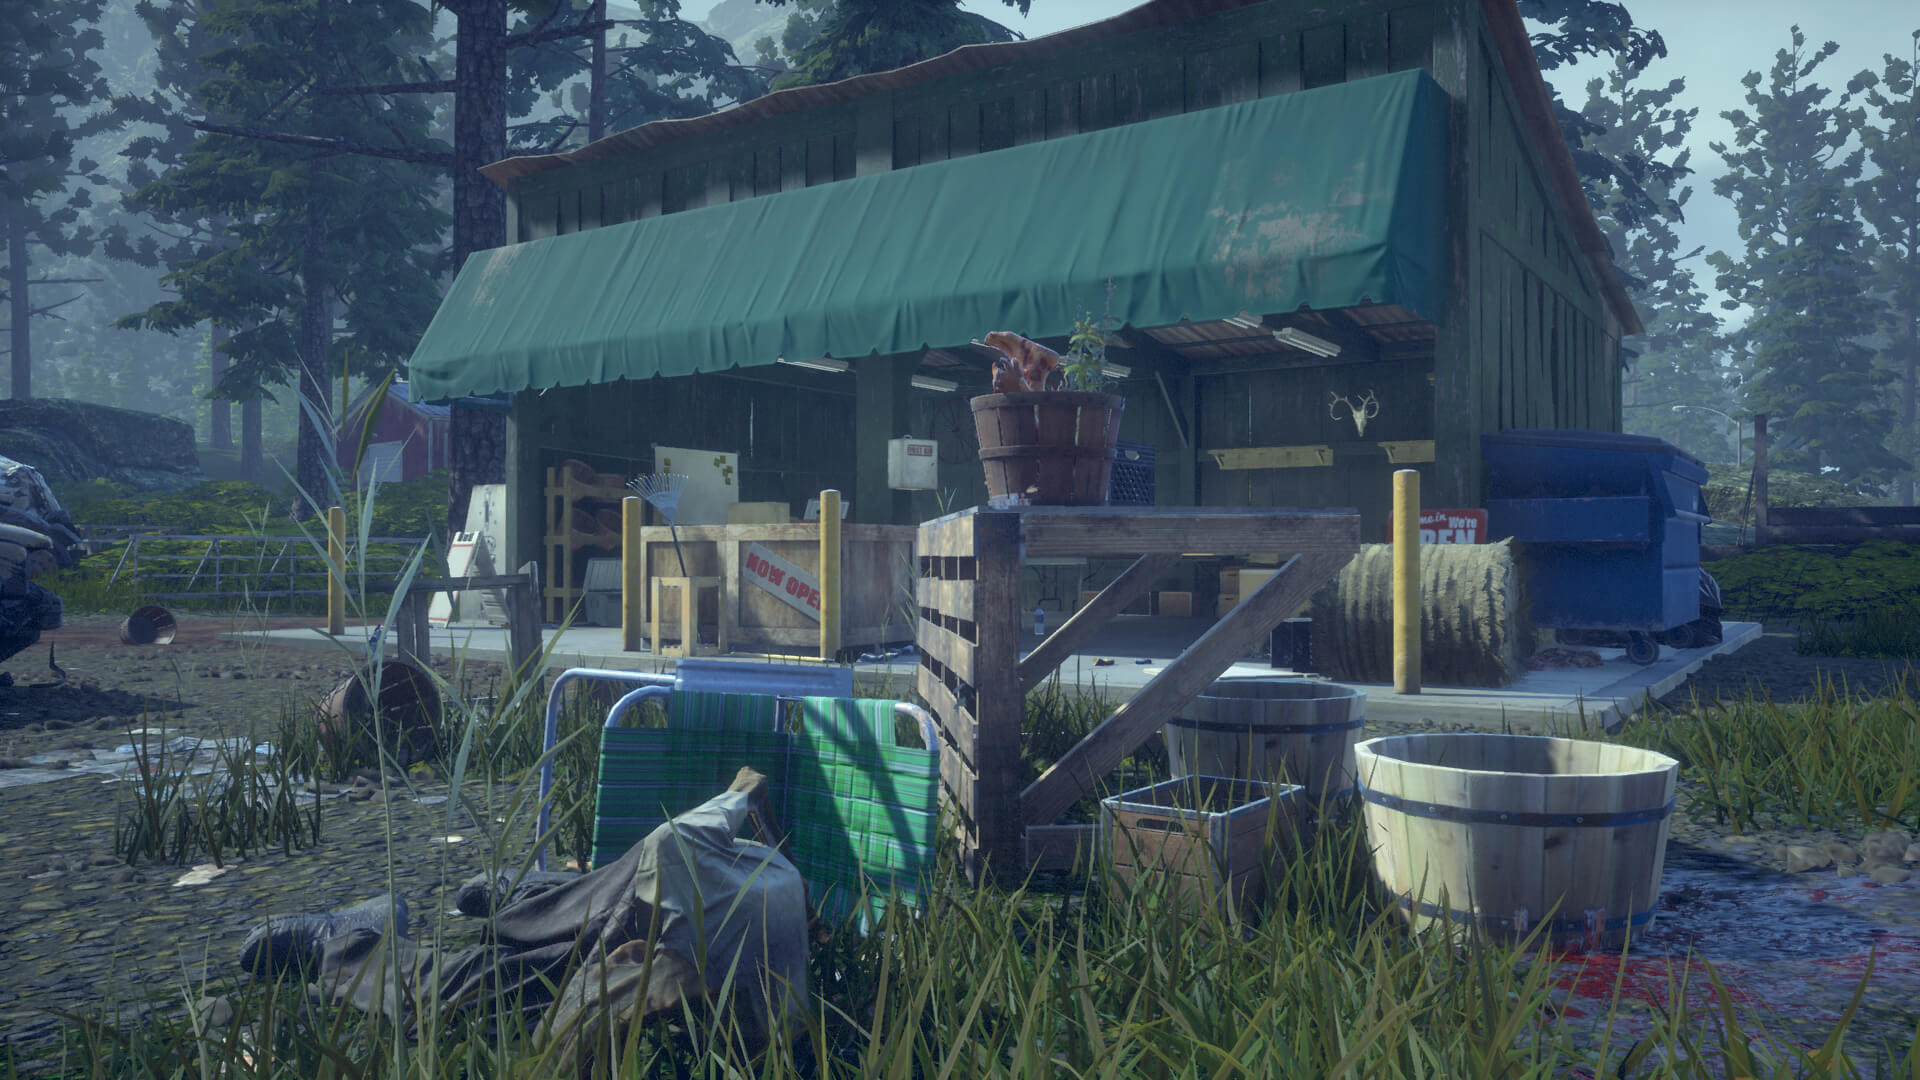
Facility construction, actions, and upgrades all require supplies. The resource you’ll need most often for facility management is materials, but facility actions and upgrades could also require meds, parts, or many other kinds of supplies. Usually, you’ll gather these supplies by scavenging whatever’s been left behind at the various buildings around town. To help your search, each site you’ve seen (either close up or by surveying from a high point) shows the kind of resources you’re likely to find. Open your map screen and highlight a particular site. The type of supplies you can find there appear as icons in the site description (see image below). Sites that have Food, Meds, Materials, Ammo, or Fuel symbols guarantee you will find rucksacks of that resource. Sites that show multiple icons provide some or all of the resources shown. For other needed supplies, such as parts, chemicals, or circuitry, use your intuition and search places (or objects) that seem most likely to have the needed supply.
Facility Mods
State of Decay 2 offers additional customization options for your base in the form of facility mods. Facility mods are items that you can find while scavenging, such as a Shelving Unit or a Portable Generator. If you bring the facility mod home, you can use your Base Screen to add that mod to an appropriate facility at no cost (other than a little time and labor on the part of your community). Each mod provides a different benefit or new function, and you can swap out facility mods with just a few minutes of time. The choice of which mod to use on each facility gives you more control over how your community continues to flourish.
Outposts
Outposts are kind of like facilities that exist entirely outside your base. Instead of building an outpost from scratch, you gain its benefits by visiting a building, clearing out the zombies, and claiming it. Each outpost offers specific benefits to help your community, from “Two Beds” to “Fuel Collection” to “Power Supply.”
Be sure to check the building’s description on your Map Screen to see its Outpost Effects before you claim it. Not all buildings offer equal outpost effects, so don’t waste your time unless the benefit is worthwhile. If the site doesn’t list any Outpost Effects, that building can’t be claimed as an outpost!
Resource Management
Survival in a post-apocalyptic world comes with costs. Not only do your survivors need food every day, but some of your facilities and outposts might have daily upkeep costs or fuel costs. These daily costs are actually divided by two, with each half-day of cost being applied every 12 hours. For example, if your survivors consume 6 food each day, you’ll see 3 food deducted from your supply every 12 in-game hours.
Switching Bases
As you become more adept at surviving in the apocalypse, your community will grow. You will need more beds, more food, and more room for newer, bigger facilities to grow and thrive. The good news is that every map has a variety of home sites, each with its own character and options. Explore the other home sites on your map until you find one that fits your needs.
Note that each home site requires a minimum survivor population and costs influence to claim it. The larger bases require a significant population and lots of influence, so you might have to work a bit before claiming one of these locations as your home.
STEP FOUR
Building Your Community
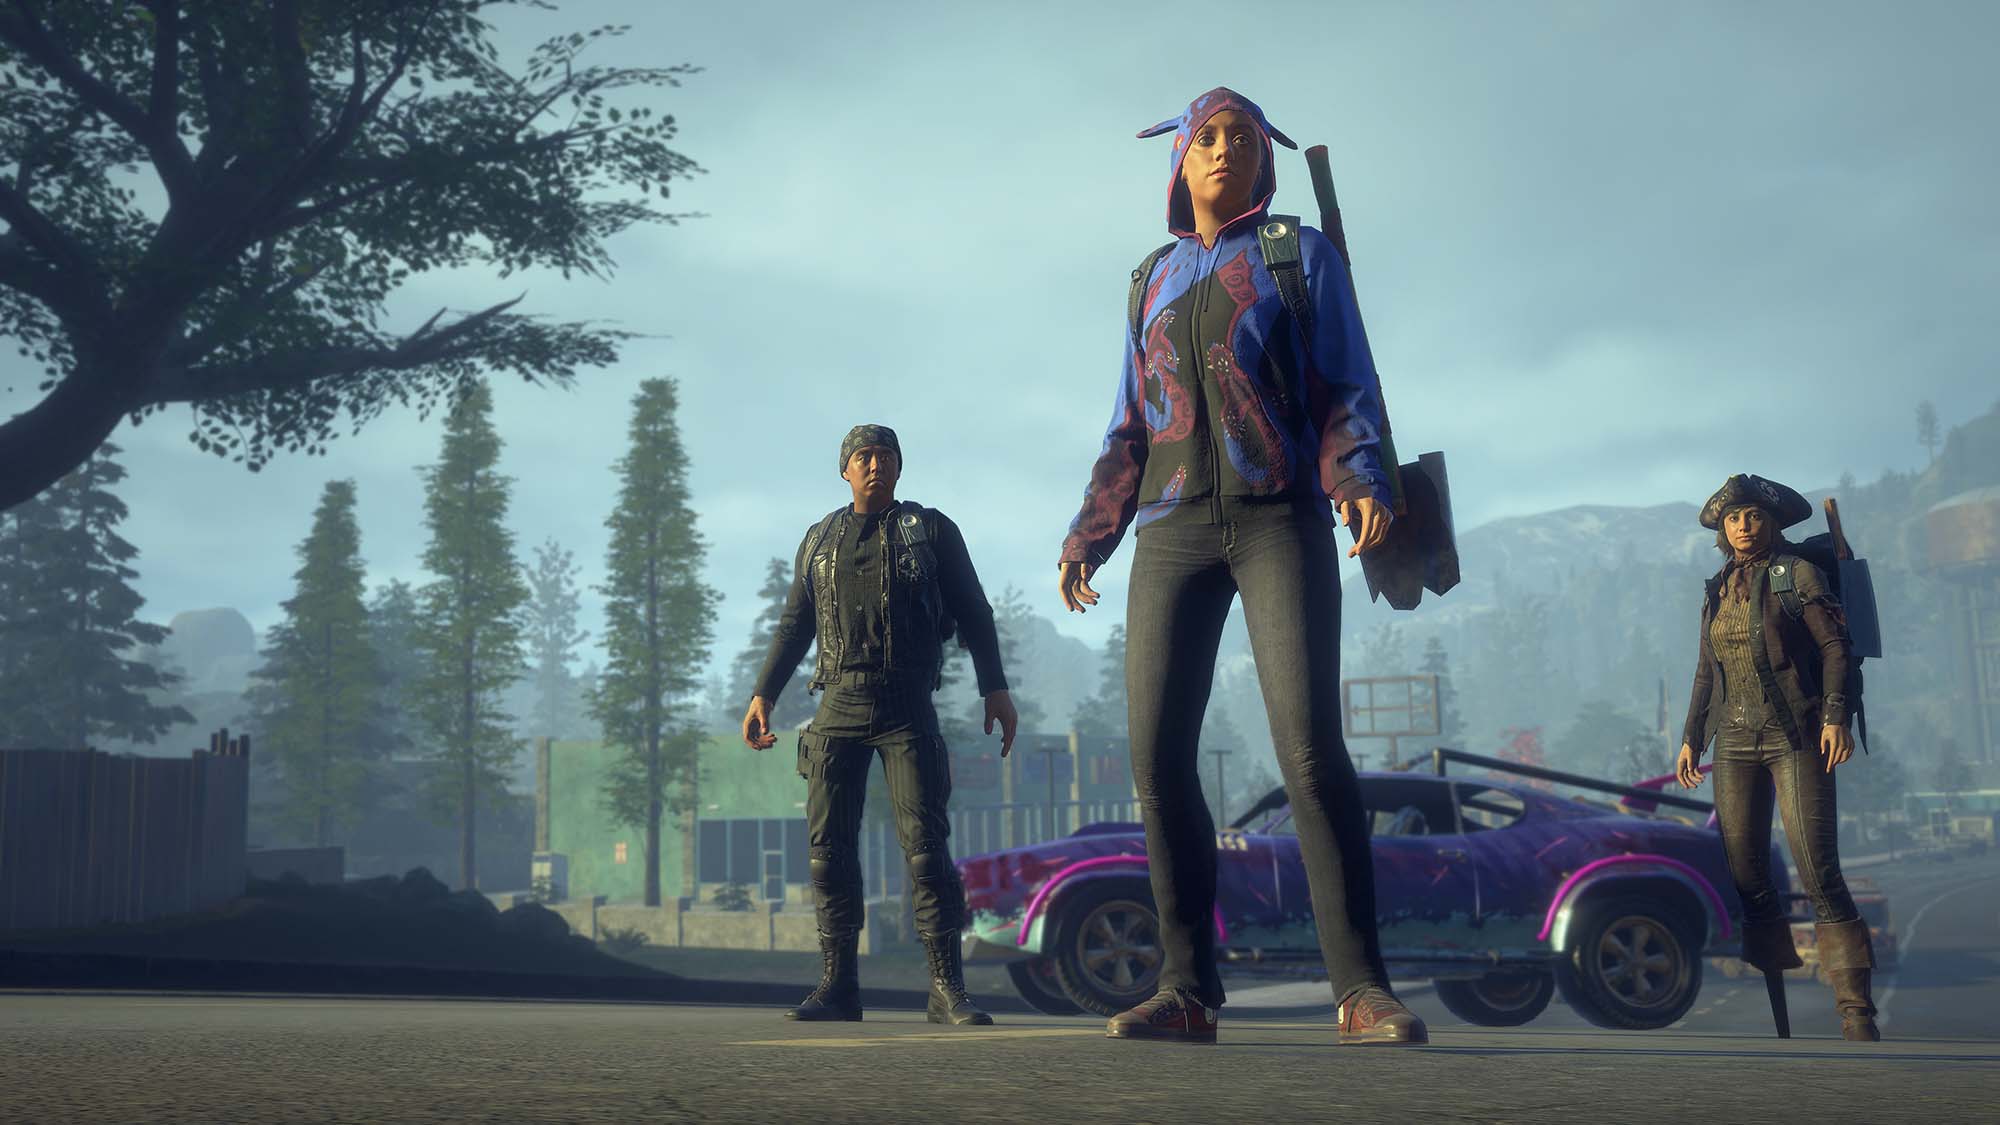
When playing State of Decay 2, you control a group of survivors. These survivors are called your “community.” Each survivor in your community has a unique blend of skills, traits, and personality.
You begin the game playing one of these survivors, but you can switch between survivors using the Community screen. You might choose to do this if your active survivor becomes tired or injured, if another character wants to accomplish a personal goal, or even if you just want a change of pace.
Skill Progression & Specialization
Every survivor has the same four basic skills (Cardio, Wits, Fighting, and Shooting). Some survivors also have an extra fifth skill, such as Cooking or Gardening. As you perform certain actions in the game, these skills improve. When you max out a basic skill (that is, when it reaches 7 stars), you unlock one or more specialization options for that skill. Each specialization offers new abilities or benefits for that survivor or for your community.
To specialize a skill, open your Character panel and select the skill that you’ve maxed out and want to specialize in. A small window will pop up with that character’s specialization choices. A survivor’s particular traits can influence which specialization options are available for that character.
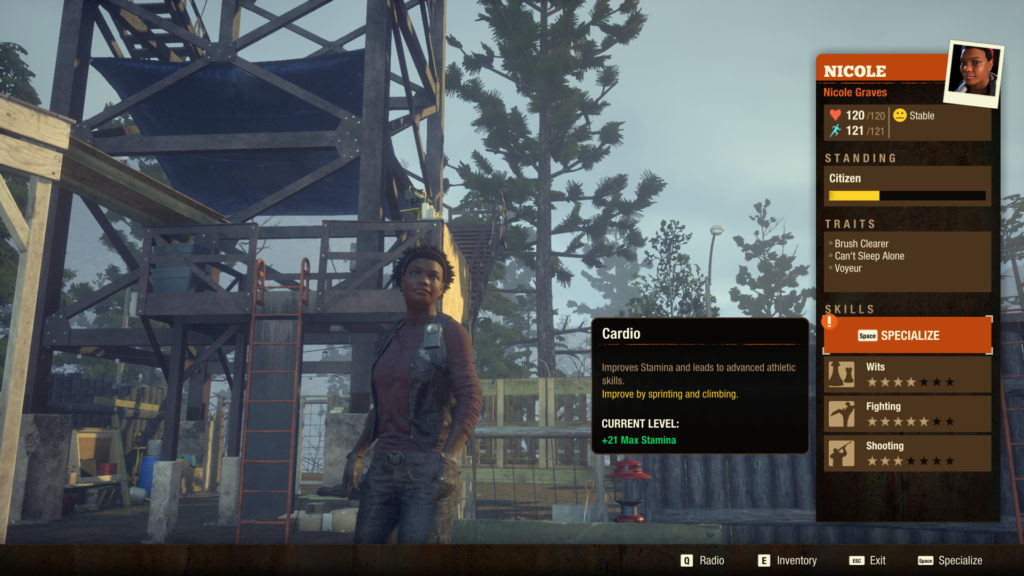
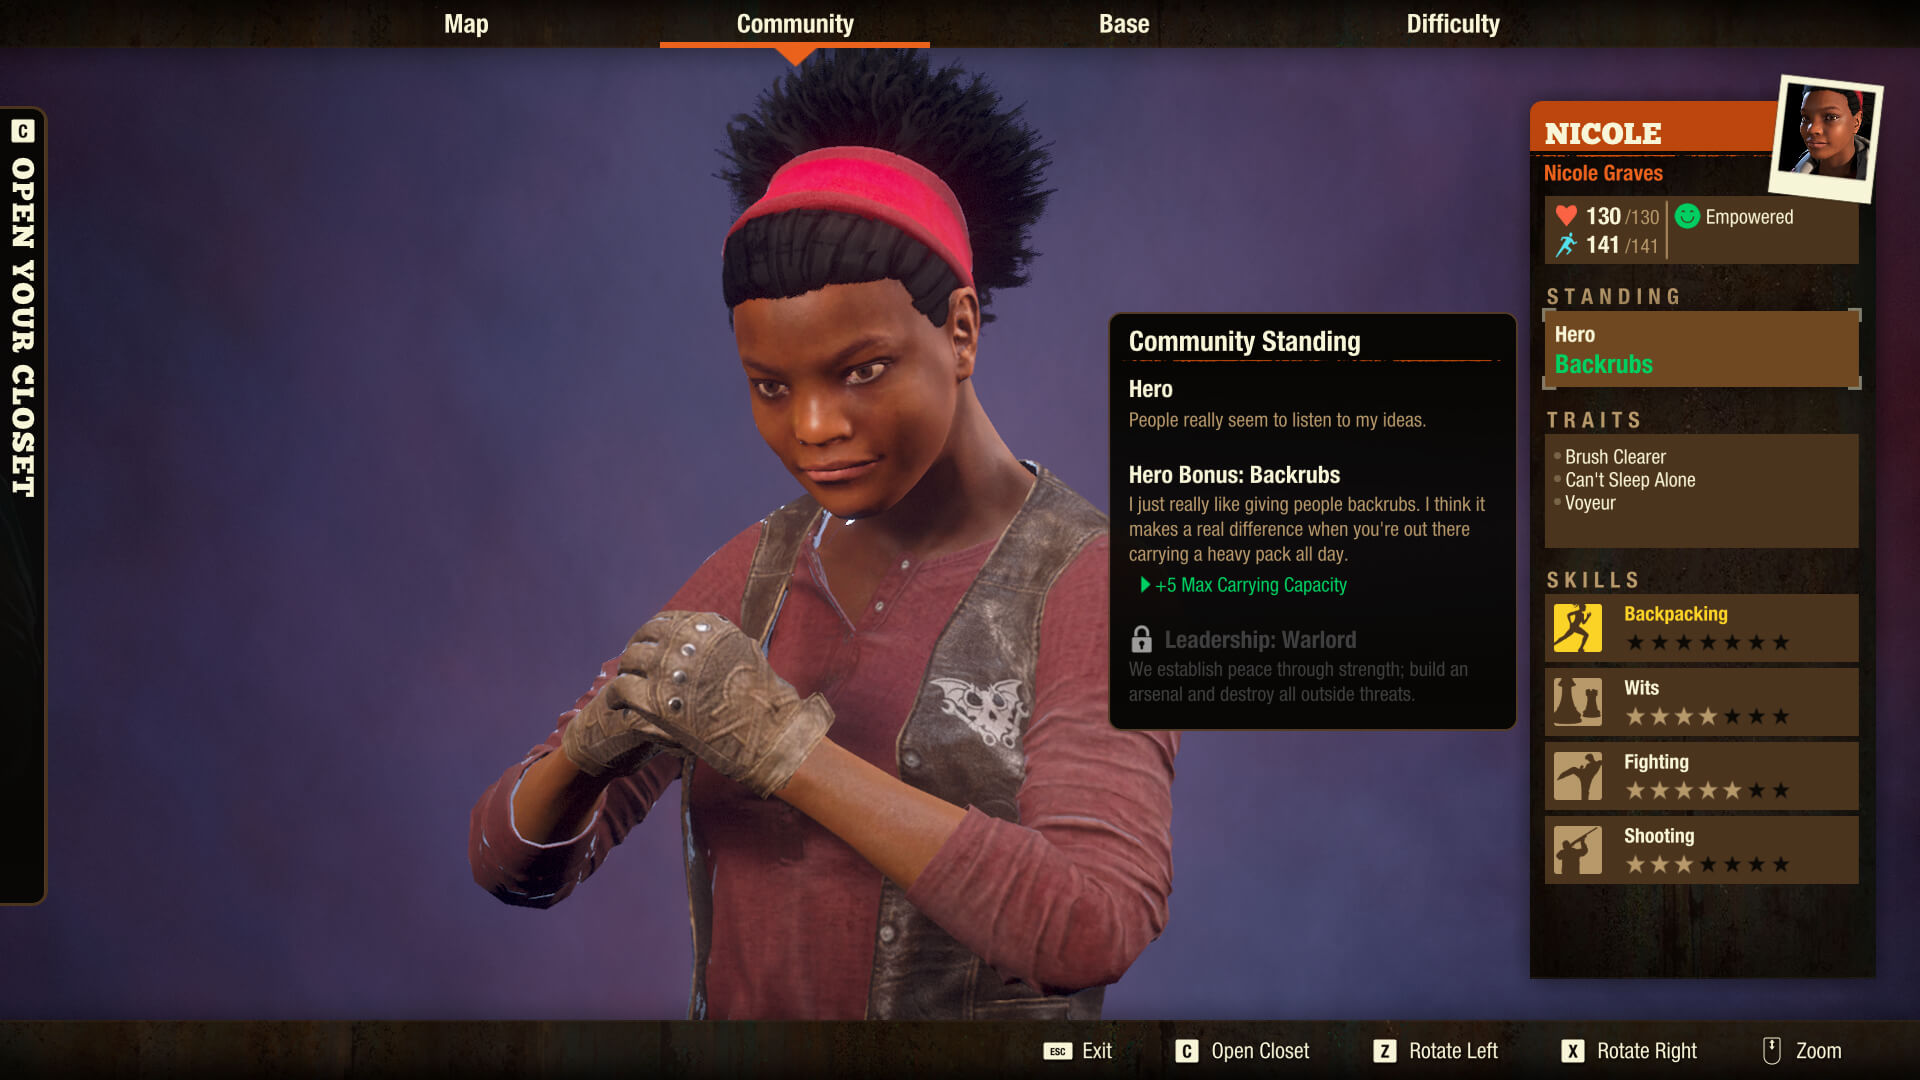
Survivor Standing
Every survivor in the game has a “standing” that describes their importance to your community. Most survivors in the game begin at the basic standing level of “Recruit.” As you play the game, your active survivor improves their standing by killing zombies, recovering resources for your community, completing goals, and similar actions. With enough effort, a Recruit can become a Citizen and eventually even a Hero.
Each survivor who becomes a Hero unlocks a valuable perk that benefits your community. For example, a Hero’s perk might provide an ongoing resource income or improve the Health of all survivors in your community. Achieving Hero status also makes that survivor eligible to become the Leader of your community.
Community Size
The game limits any community to no more than 12 survivors. However, opportunities to recruit new survivors become rare once your community reaches a population of 9 or more. This makes your choices about who to recruit, who to keep around, and who to exile from your community very important!
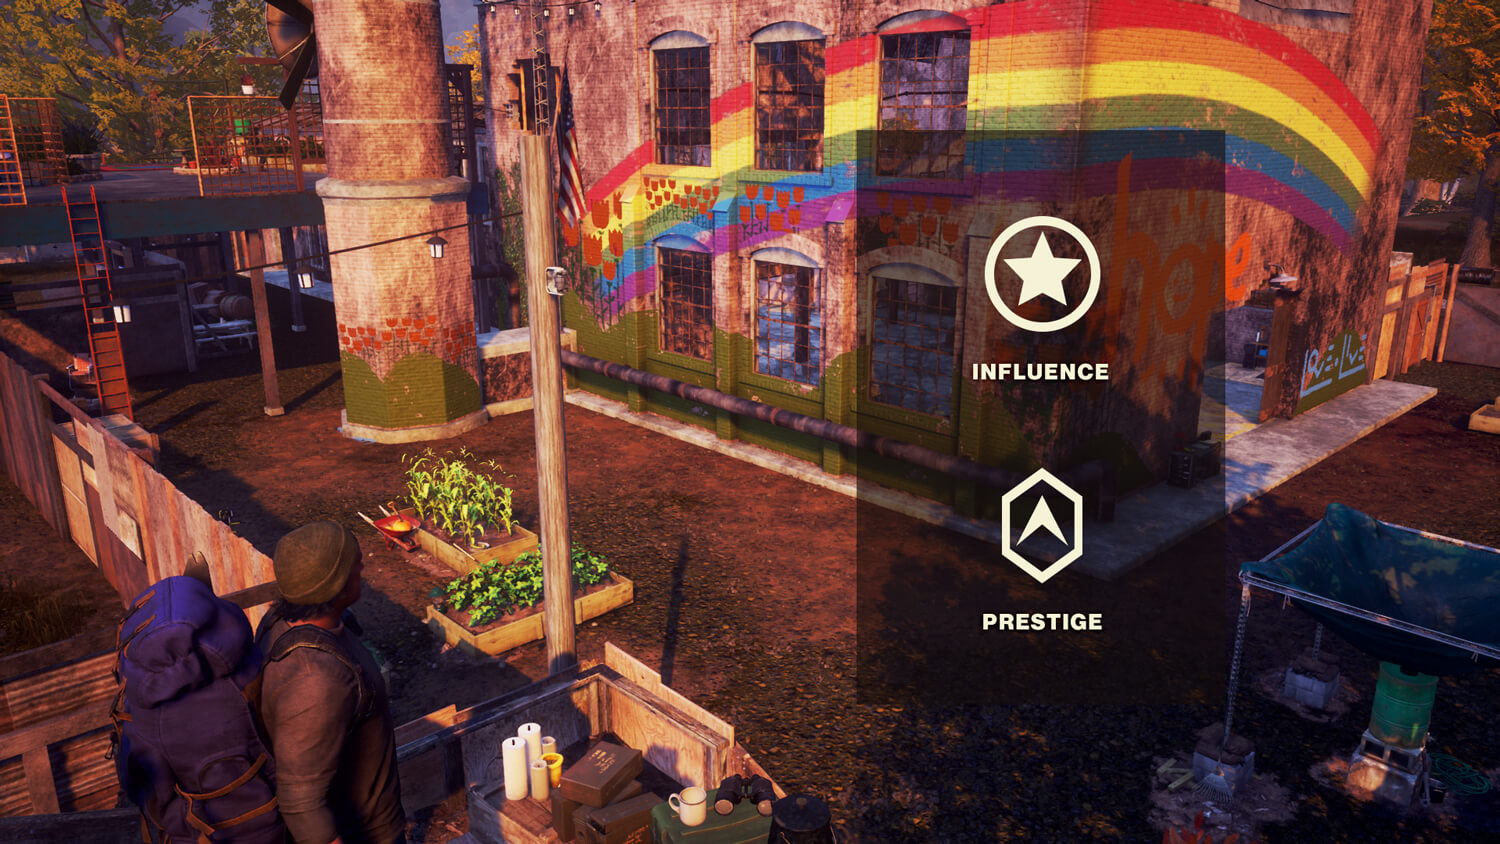
Influence & Prestige: Post-Apocalyptic Currencies
Cold, hard cash doesn’t have much use after the fall of the government and the banking system. Instead, people in State of Decay 2 rely on two currencies to handle bartering items and paying for favors: influence and prestige.
Influence
Influence is the most common currency used in State of Decay 2. You earn influence by completing goals, by selling items to your neighbors, and by killing zombies. You can use your earned influence to “buy” items from your neighbors, to activate various radio commands, and to claim outposts and new home bases. Each community has its own supply of influence. When scavenging, keep an eye out for items that note their high trade value. These “luxury items” aren’t useful except to trade away for influence. Take them to your neighbors or to a wandering trader and cash them in for influence to help your community thrive.
Prestige
Prestige is the second, rarer type of currency used in the game. It’s only earned by playing the Daybreak game mode (see below for details), but it can be spent in Campaign mode by your regular community. This currency allows you access to several special benefits, such as the ability to purchase weapons otherwise only available in Daybreak, or to recruit elite operatives to your community. Your prestige is shared across all the communities attached to your account.
STEP FIVE
Completing Goals
It’s easy to get wrapped up in your immediate survival needs, like scavenging for food. However, your community has additional goals that your survivors would like to pursue. The Map Screen shows your community’s current goals, broken down into different categories. Use this list to guide your activities whenever your community doesn’t have a more pressing need.

Story Goals
These goals advance the overall story of the town and your community. At the start of the game, these include some critical tasks required to build up your community. Later on, this section focuses on selecting a leader, defeating the blood plague in your town, and completing your leader’s final legacy: your lasting contribution to this region of the world.
Community Goals
Goals that appear in this section tend to of smaller scope and importance, though completing them can still earn significant rewards and other benefits. These tasks may be highly personal to individual members of your community, representing specific goals that they believe are important to survival. They often give you a bit of insight into that character’s personality or values.
Sometimes, completing a goal requires that you play a specific survivor in your community. You must continue playing as that character until the goal is entirely complete. Otherwise, this goal will be put on a back burner for a while. It might be a while until you see it again.
External Goals
This category includes the vast majority of tasks that are initiated by someone outside your community. Some involve individual survivors who need your help, while others represent longer storylines centering on a neighboring community of NPCs. Completing these goals can earn you nice rewards, including opportunities to recruit new survivors to your community or to build lasting alliances that grant special benefits.
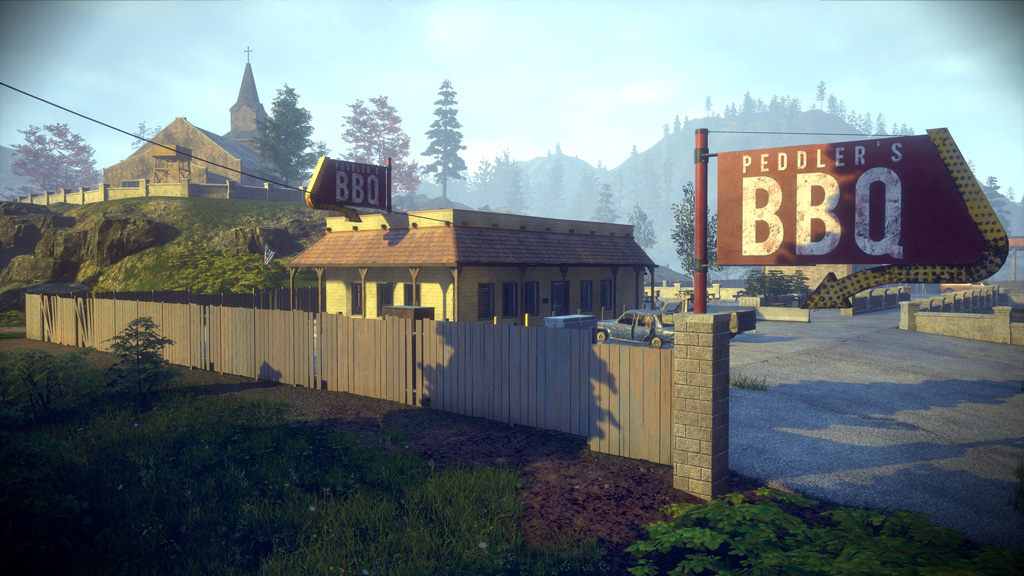
One special kind of external goal is the trader who comes to town looking to buy or sell items. These traders often focus on a subset of items or resources. Each trader only remains in the area for a limited time, so be sure to prioritize a visit if you’re looking to earn more influence (by trading away items) or to stock up on whatever they’re selling. For more information, see the section on “Special Traders” below.
STEP SIX
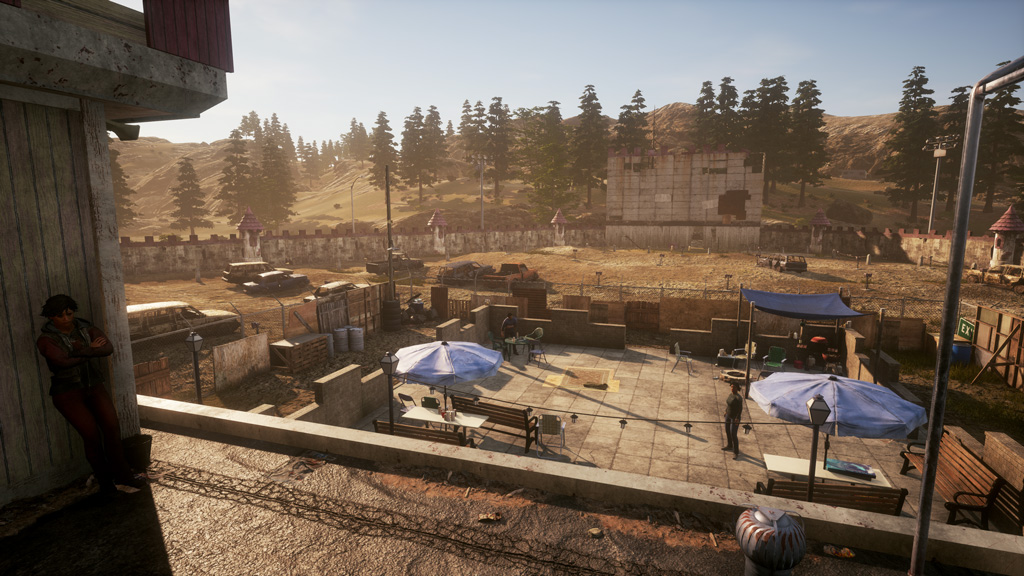
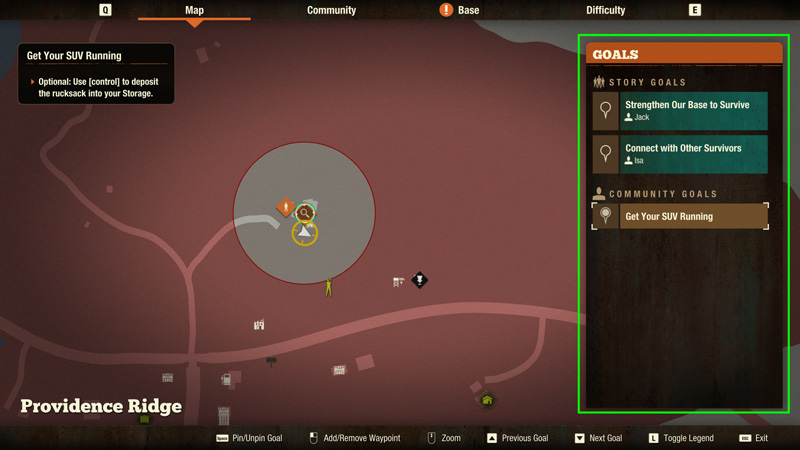
How To Use The Map Screen
The Map screen provides an overview of your town, identifies locations you’ve surveyed, and shows which sites have been thoroughly scavenged. It also shows you the list of your current goals (a topic covered in “Completing Goals’).
Placing Waypoints
You can click anywhere on your map to place a waypoint at that spot. This creates a visible in-world marker that you and other players in your game can use to navigate. Placing a waypoint is a useful tool for coordinating actions between players. You can drop one on a site you intend to search, or on a place to meet up for an exchange of gear. They’re also useful reminders of where you just parked your car (which can be critical when you’re being chased by a hungry horde).
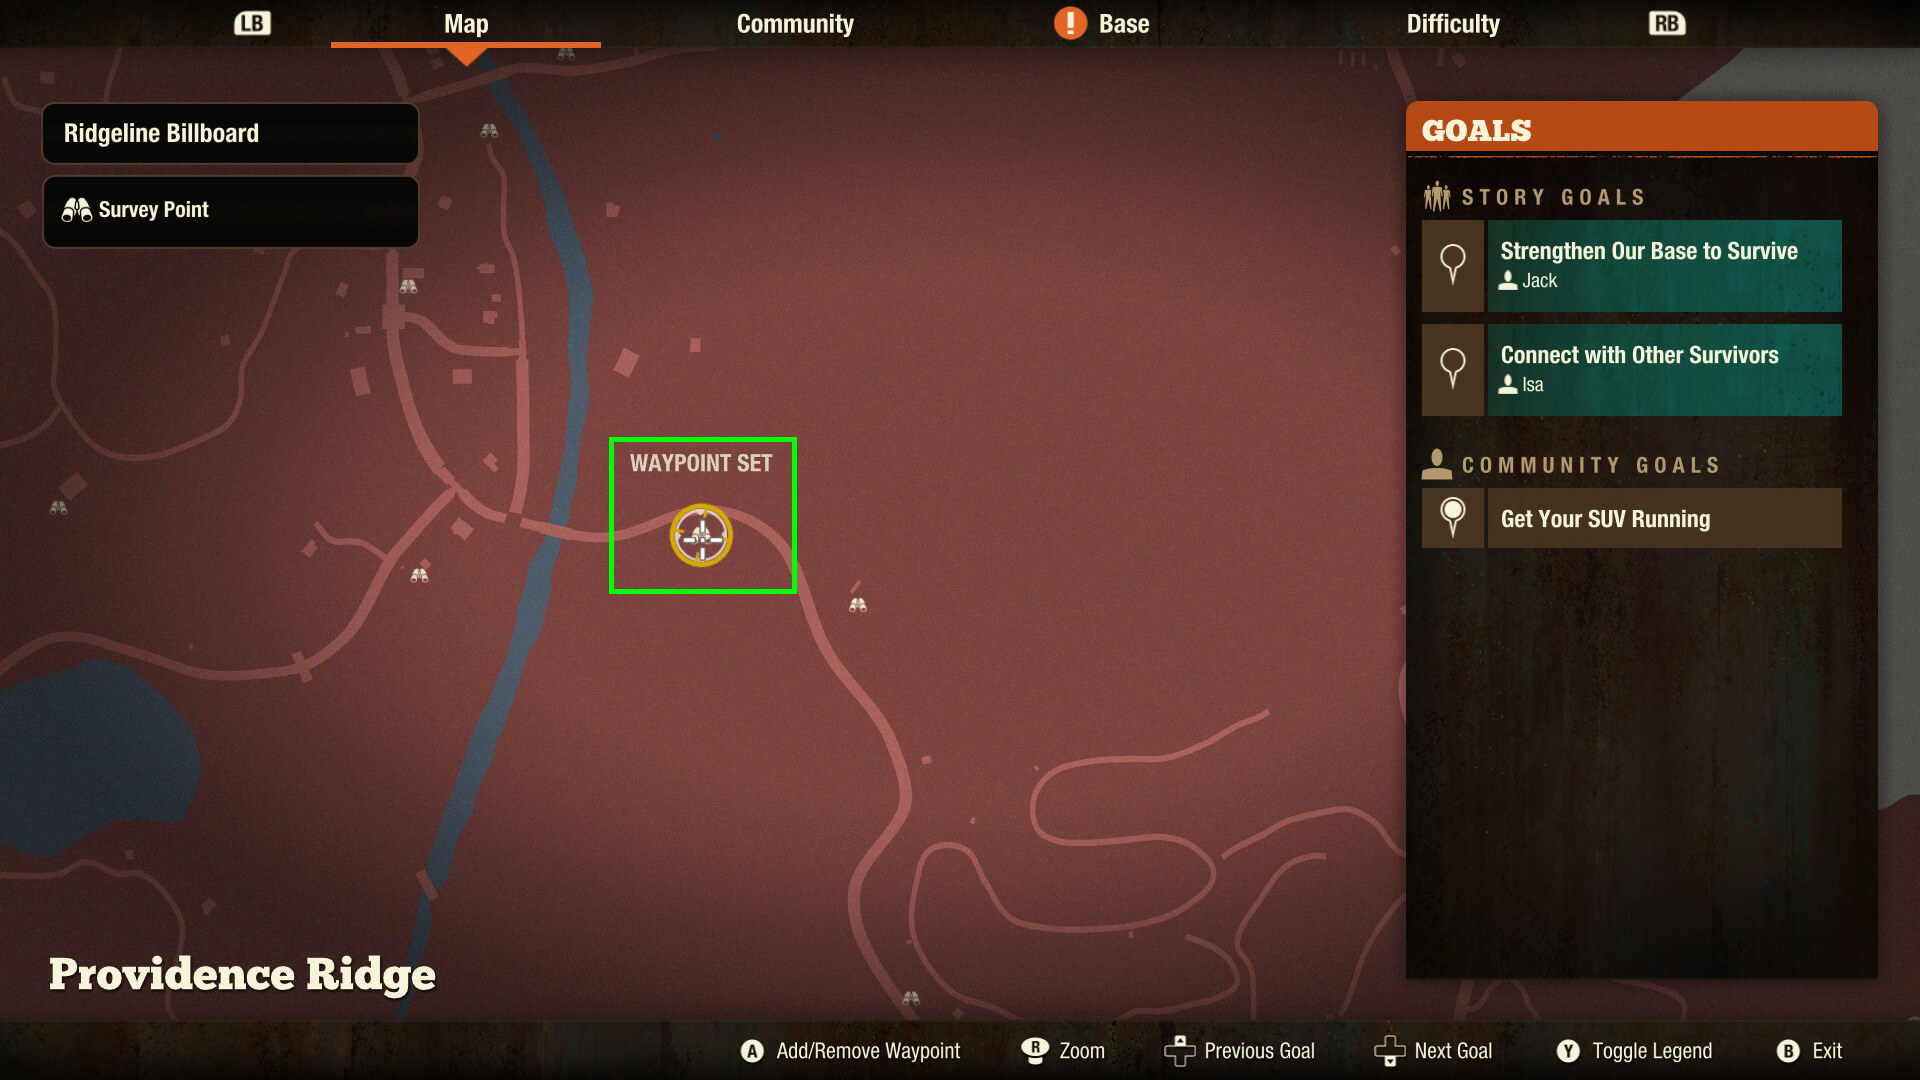
Selecting a Goal
While on the Map Screen, you can navigate your goal list and pin the objective you wish to pursue. Your map will also center on the objective marker for that goal. In addition, this creates an in-world waypoint for you to follow.
Changing Maps
Eventually, you may find yourself wanting to relocate to a new town. Maybe you’ve scavenged all the good stuff from your current map. Or maybe you’re just looking for a change of scenery. Either way, it’s pretty simple to pick up and move out.
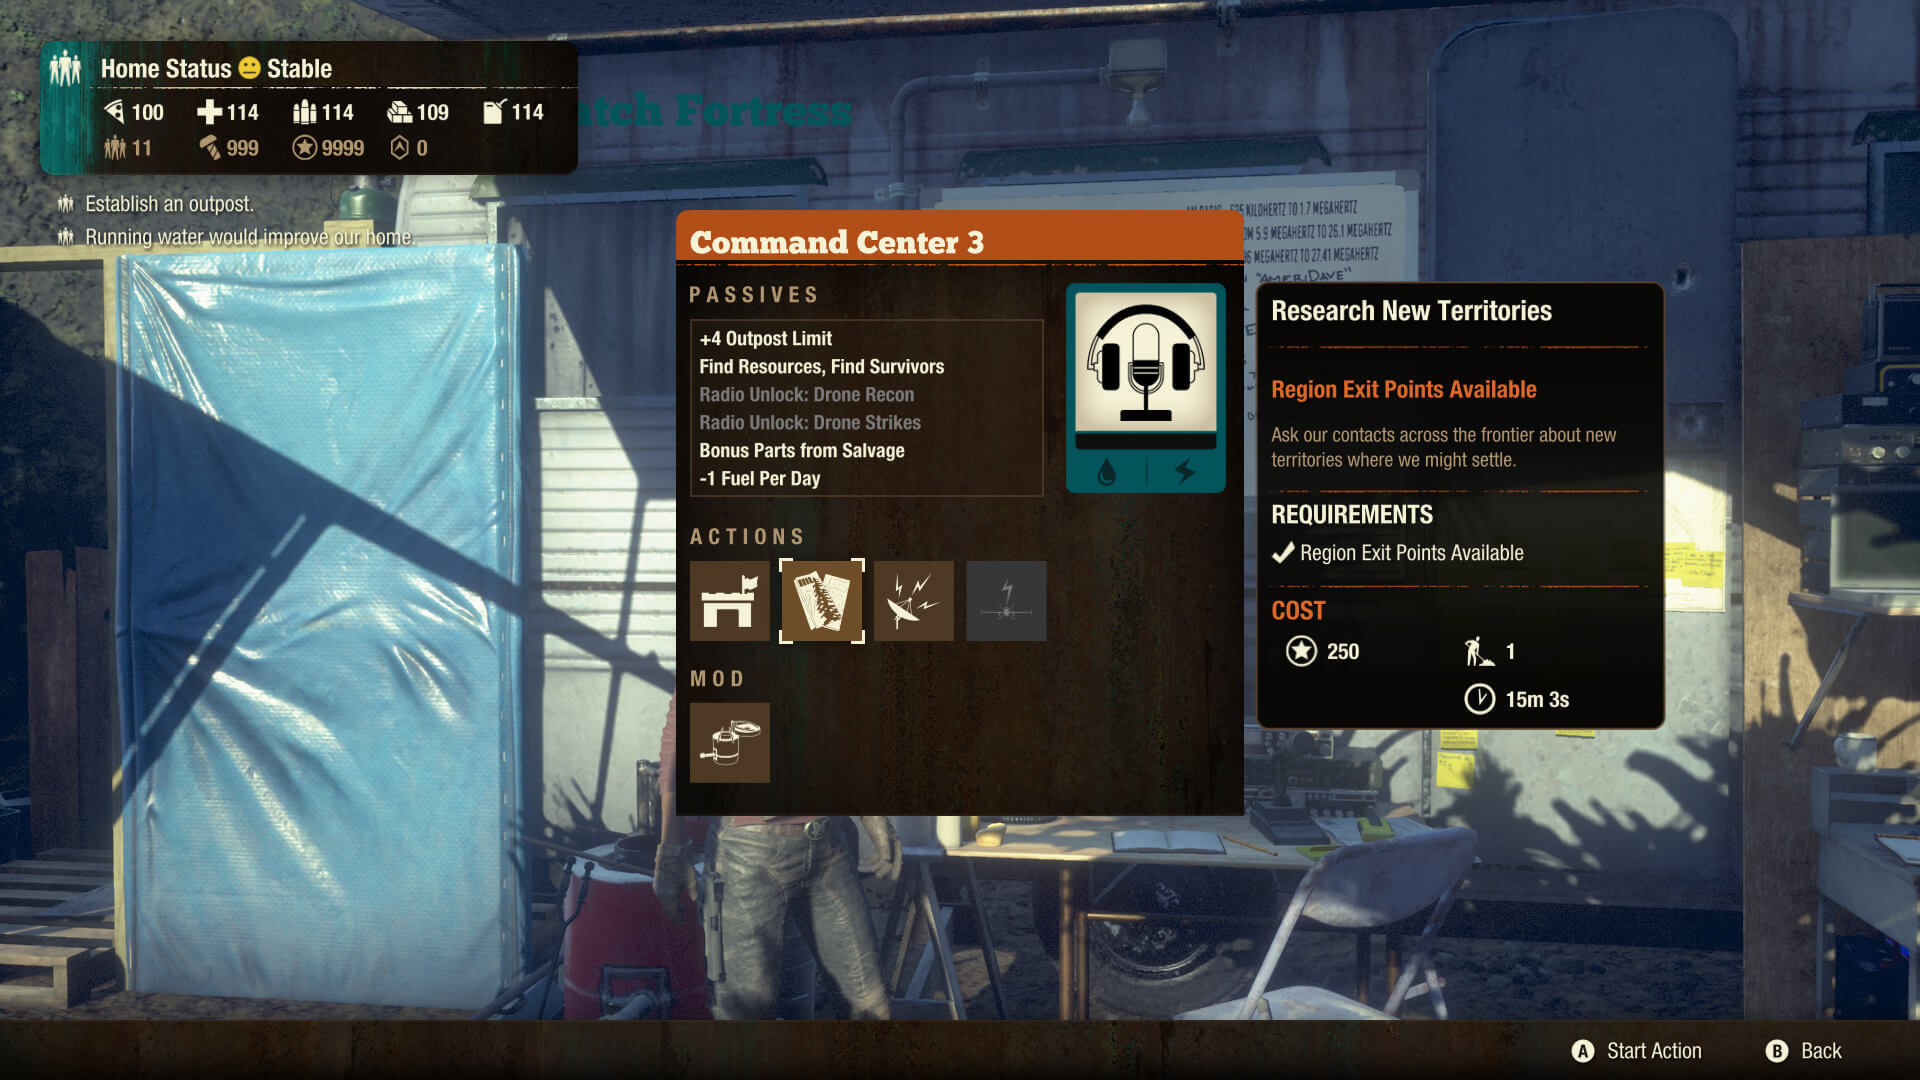
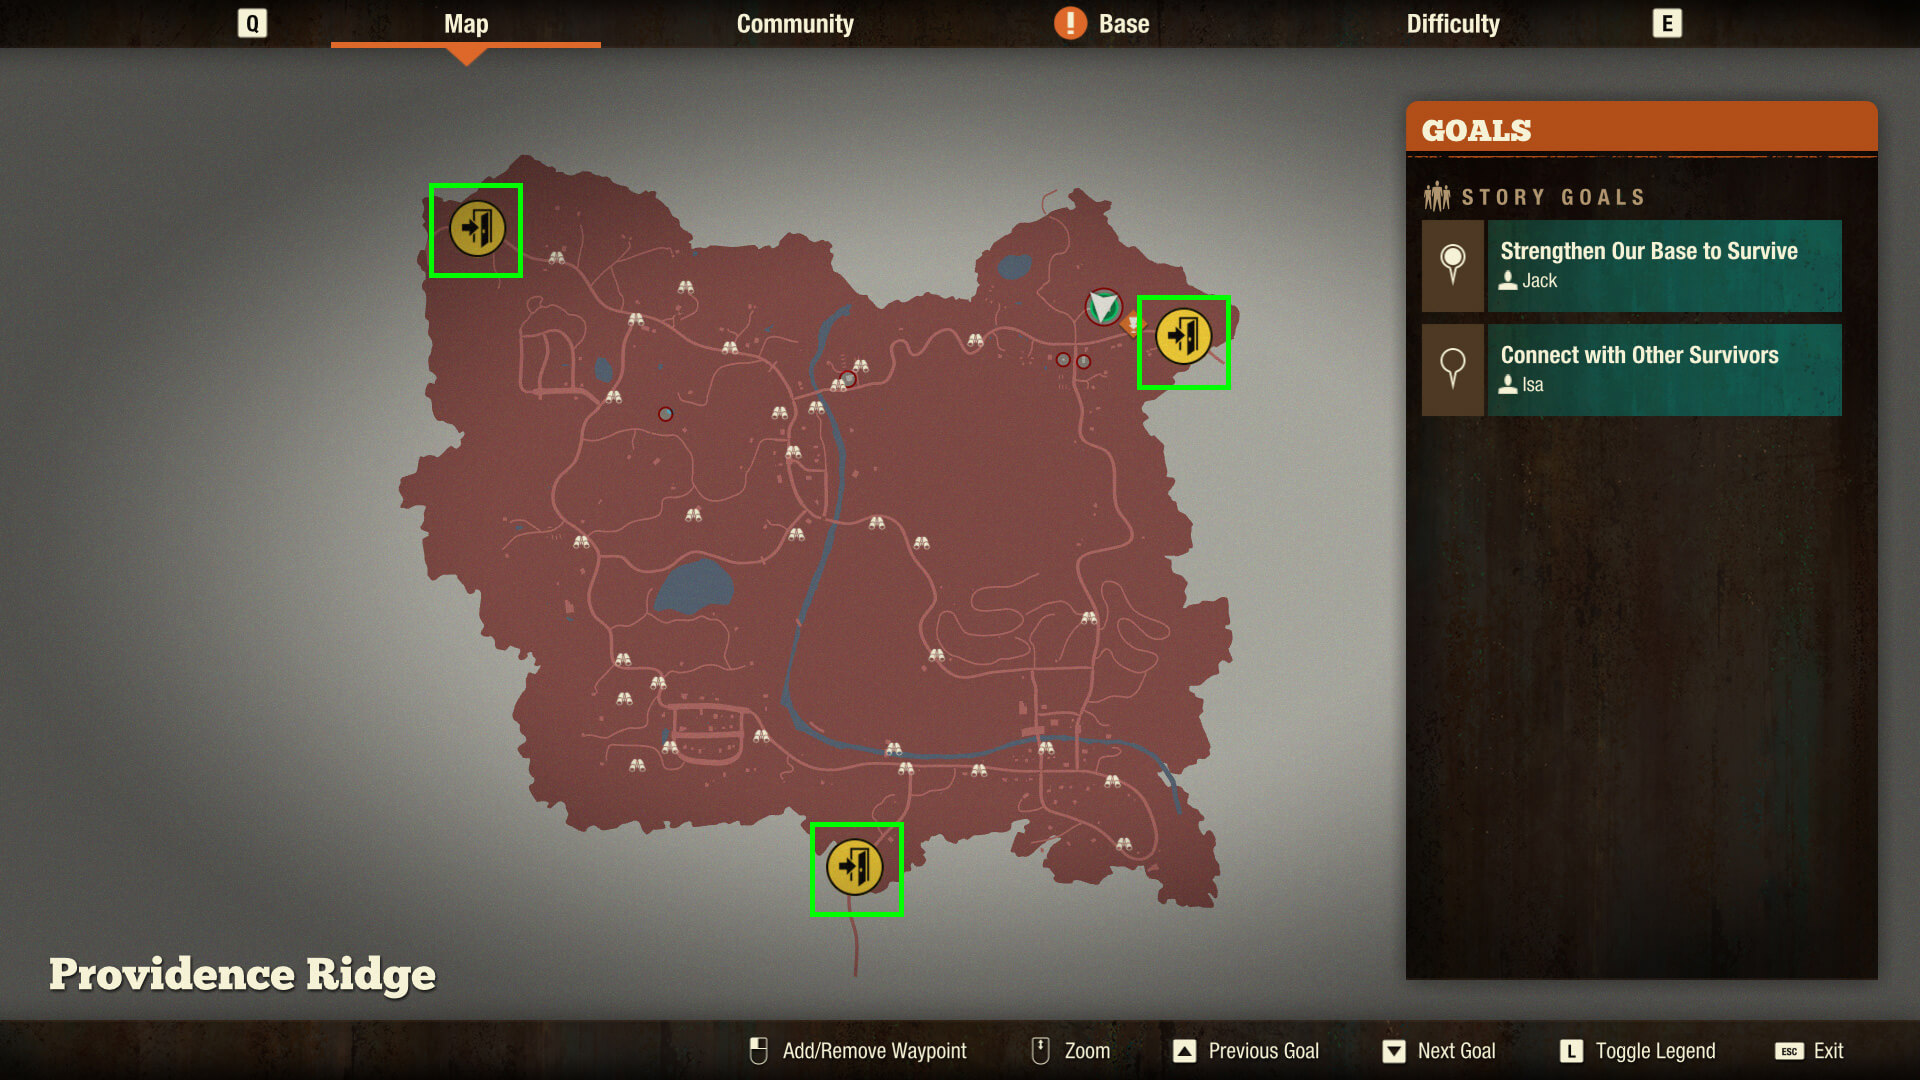
First, you must upgrade your Command Center to tier 2. This unlocks the “Research New Territories” action. Using that action allows you to relocate, using any of the three exit points that it marks on your map. Using any survivor in your community, drive a vehicle to an exit point. You’ll be asked to confirm that you want to leave, then prompted to select your new location. (You’ll also get the option to change your difficulty, but that’s not required.)
Changing maps brings you to a new town full of buildings to be scavenged and plague hearts to be destroyed. You must claim a new base, at which point you’ll have access to all the resources and gear that you had in your previous base (including everything you spent to build and upgrade your facilities). This also automatically relocates up to 3 cars that you had parked at your old base.
STEP SEVEN
Vehicles in the Apocalypse
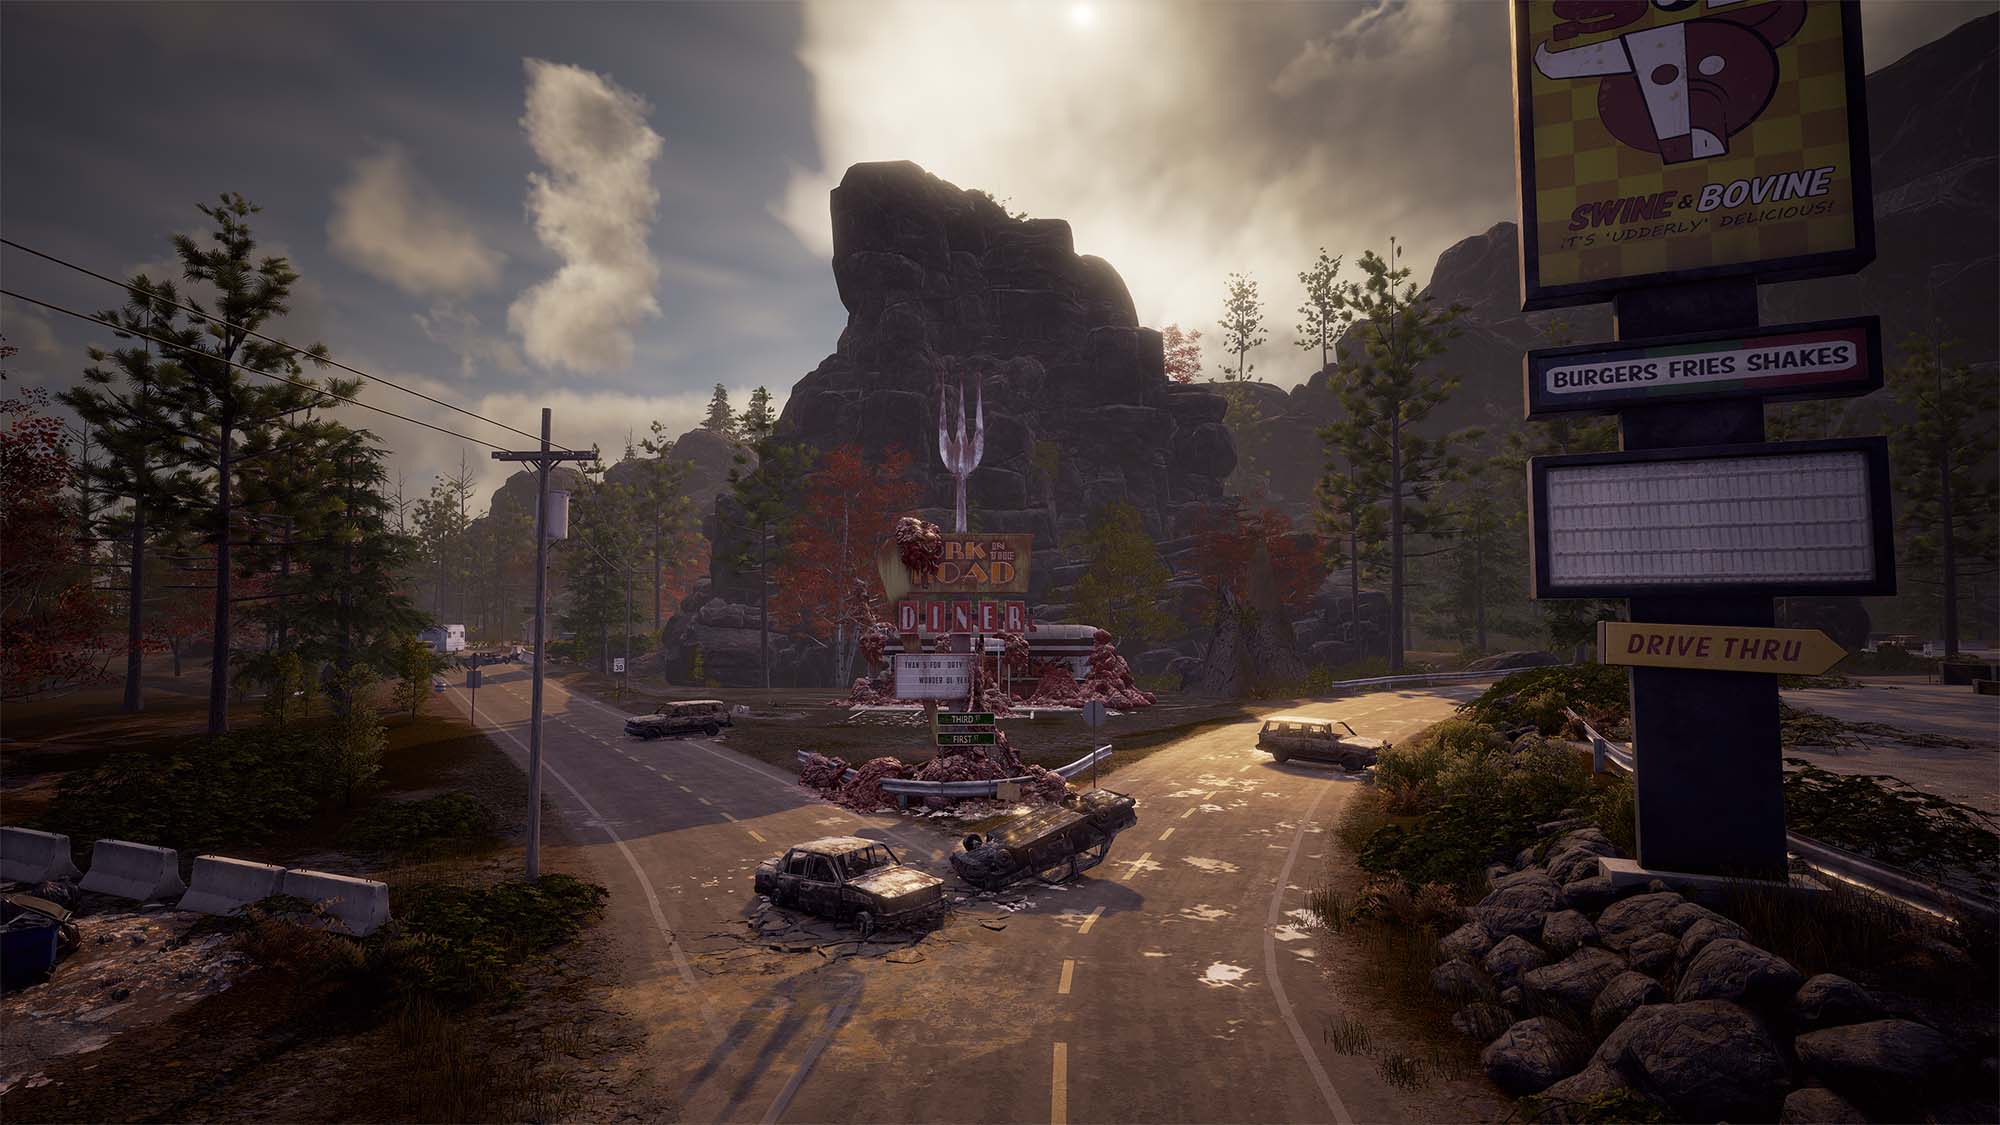
Driving around the map is a staple of your State of Decay 2 experience. You can find many different vehicles around the map, including compact cars, sedans, minivans, and trucks. Your choice of vehicles to use is part of your overall survival strategy, so think carefully about what you want to drive through the apocalypse. Do you prefer big vehicles with lots of storage space in the trunk, such as a Vandito, so that you can bring back more from a scavenging run? Or do you feel safer in a small vehicle that can navigate through the wreckage of the apocalypse, such as the Hellion? Do you need a four-seater to bring lots of friends along, or is a two-seater enough for you? Experiment with different vehicles to see what feels right for you.
Whenever your vehicle is at home, make sure it’s properly parked in one of the parking spots at your base. (You’ll know you’re parked when you see “Parked” show up in the HUD while driving.) When a vehicle is parked, you can transfer items from the trunk directly into your Storage or Supply Locker. This saves a lot of time unloading your vehicle!
Using The Parking Space Facility
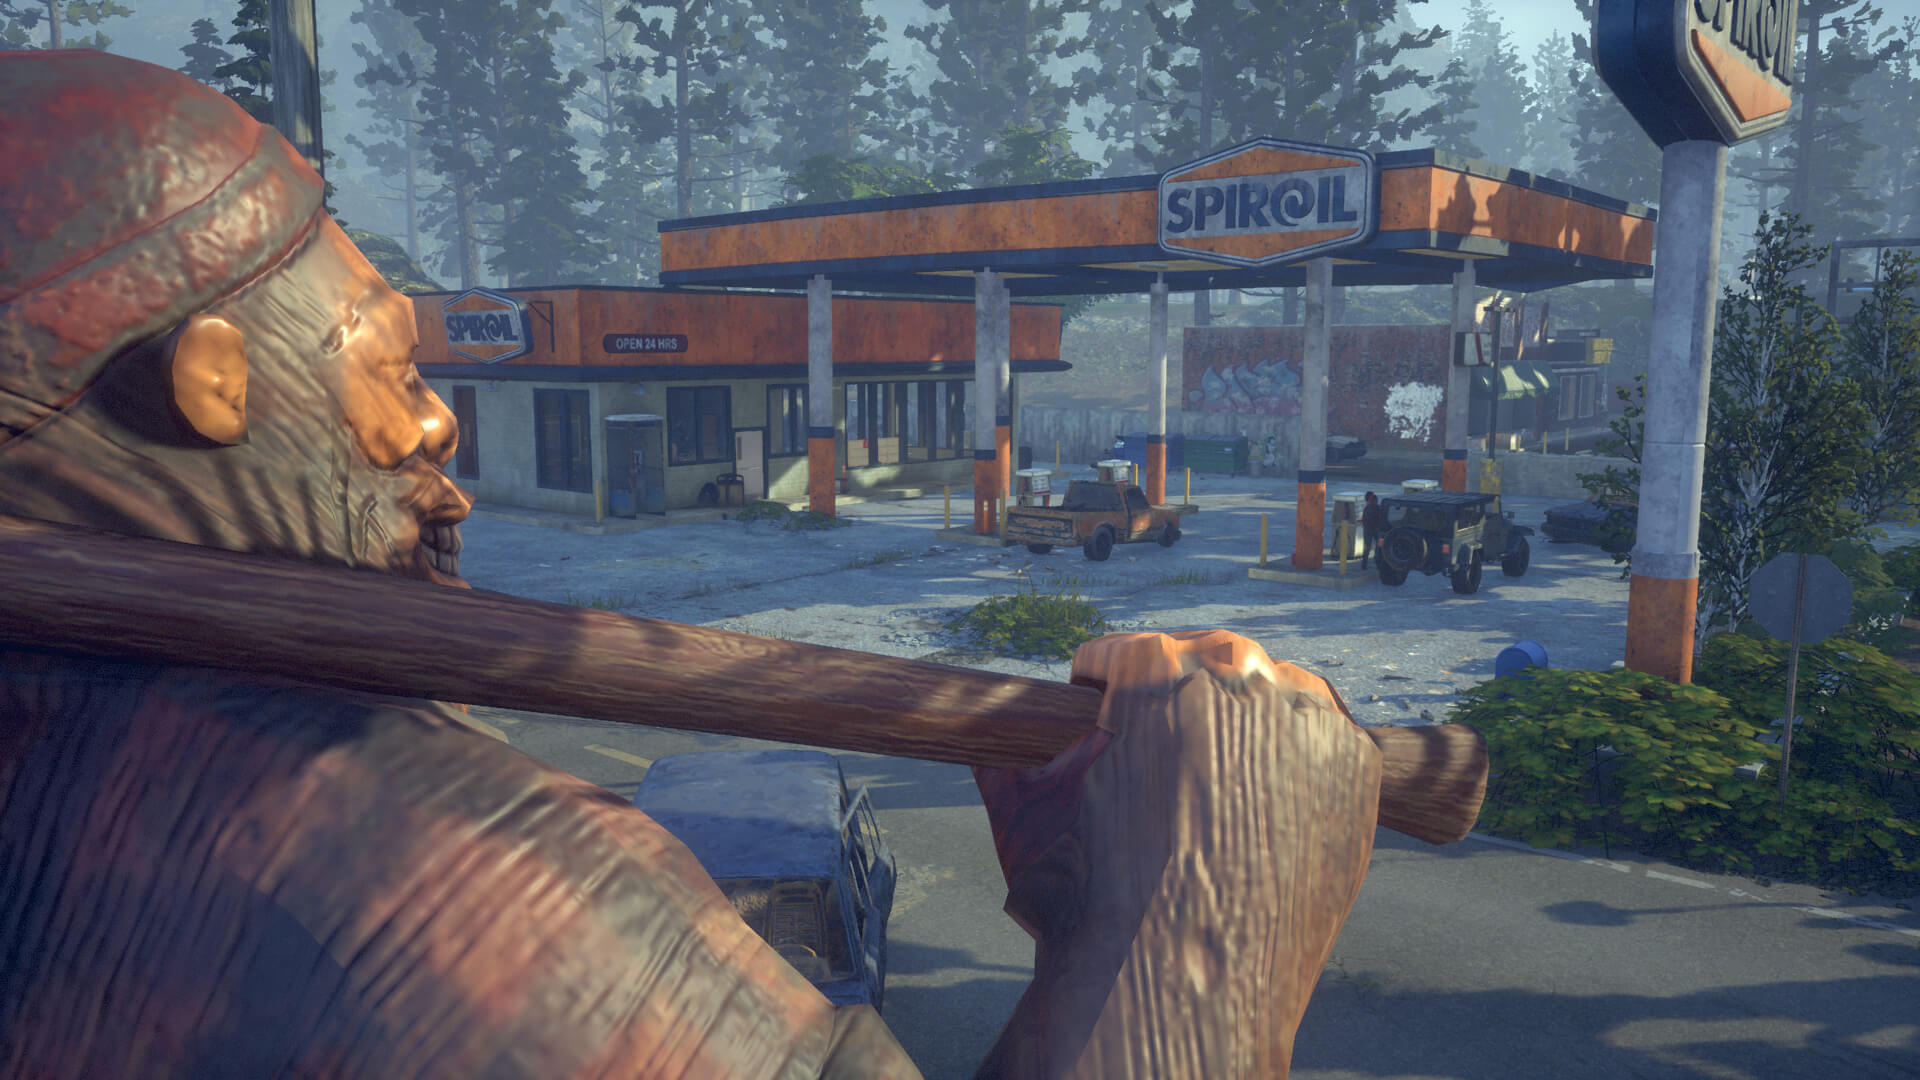
Driving around in the apocalypse consumes gas. Eventually, you’ll need to refuel your vehicle with a gas can. You can find gas cans at gas stations and similar locations, or you can craft them at your Storage. If your survivor is carrying a gas can in their inventory, you can fill up your vehicle by finding its refueling point near the back of the driver’s side. This takes a little time, so it’s best to refuel when you’re not surrounded by zeds.
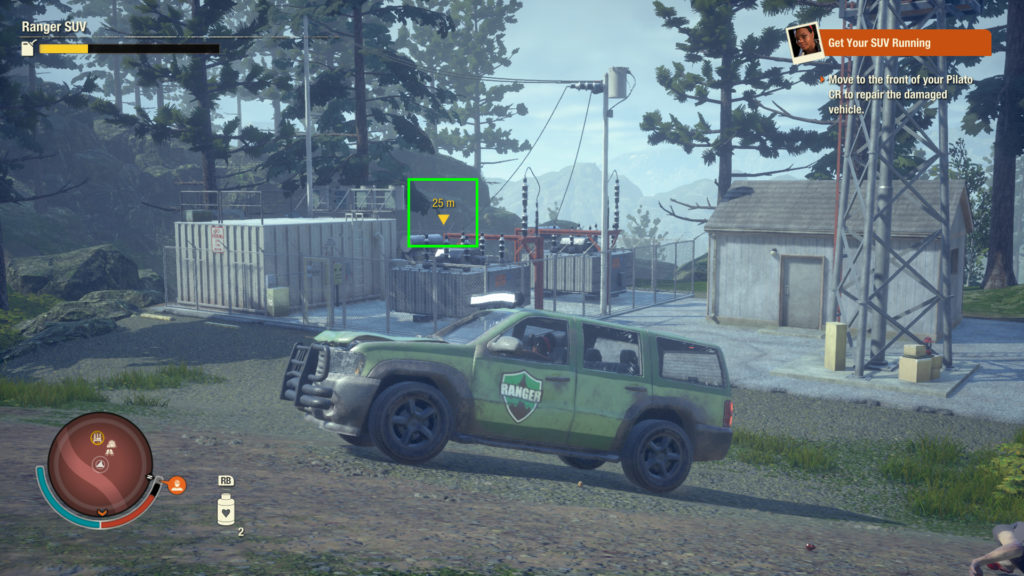
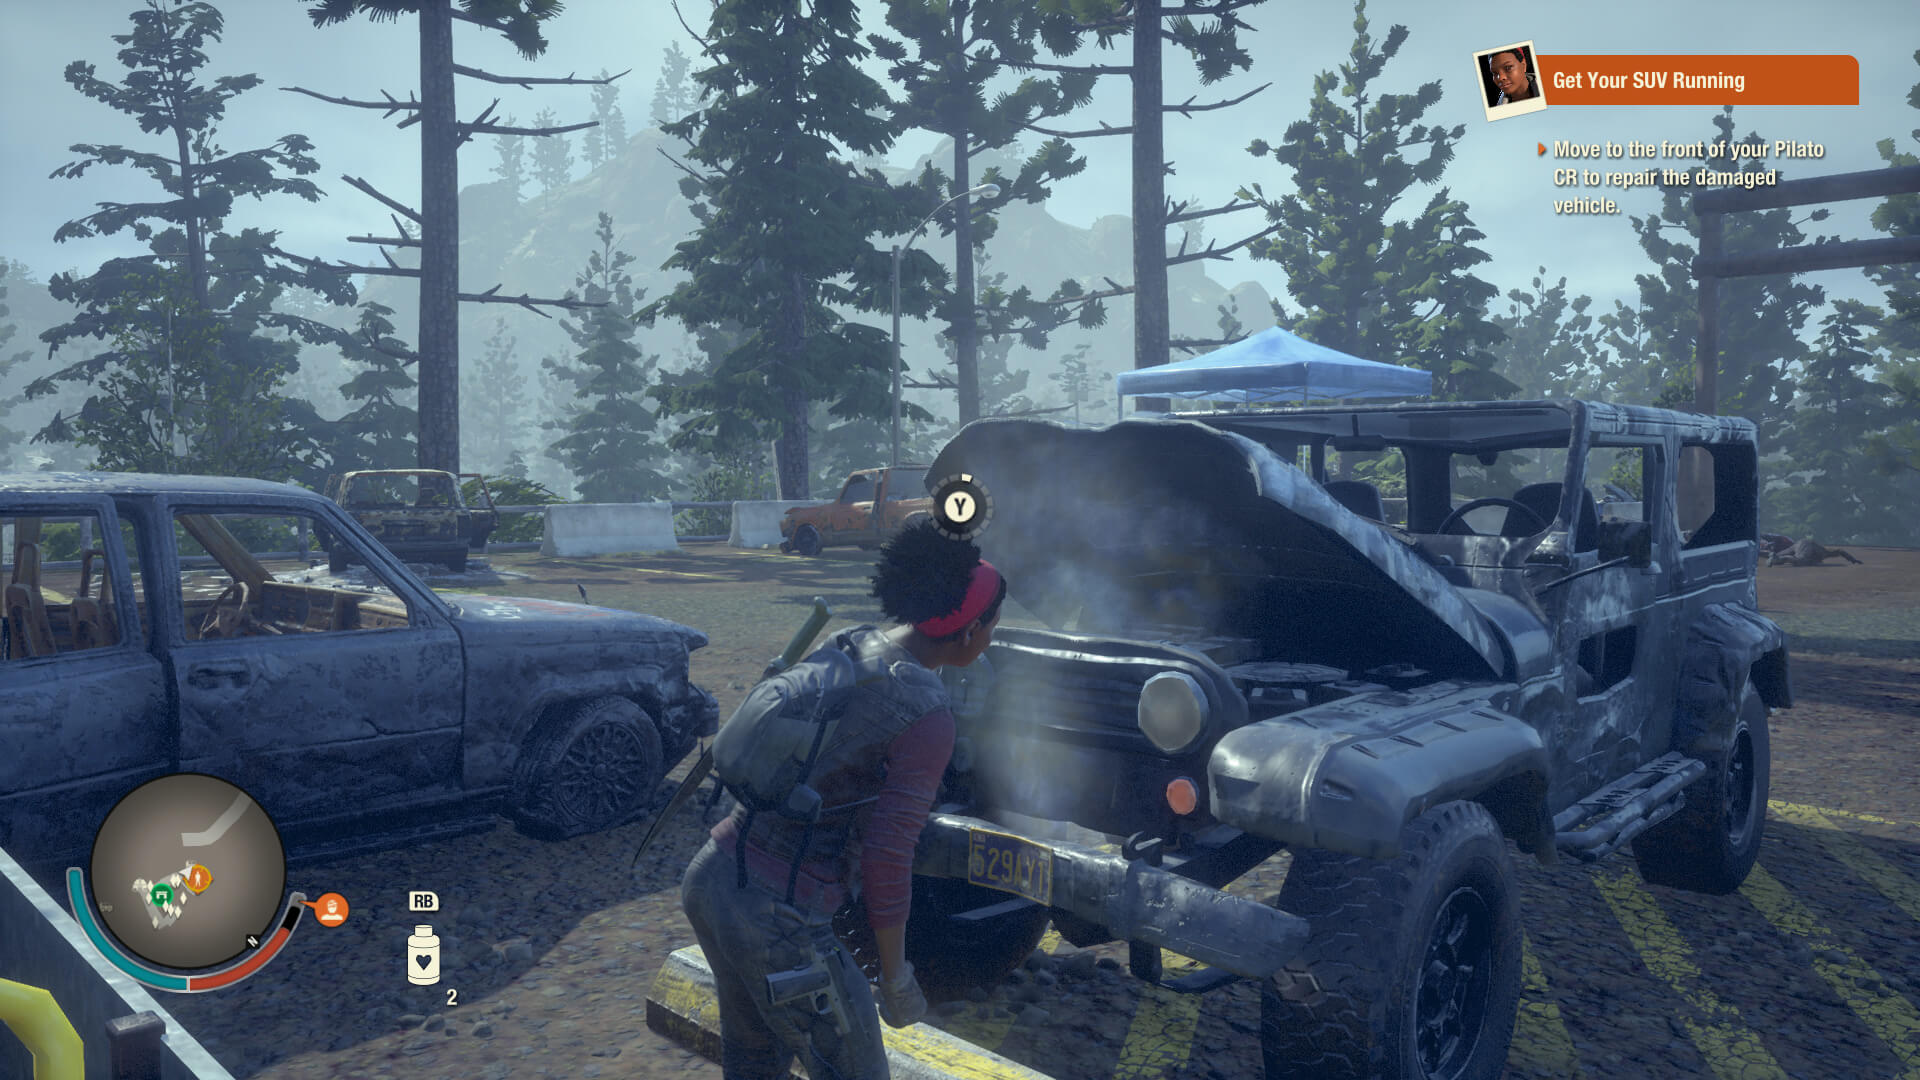
No matter how carefully you drive, your vehicle is likely to take some damage. Maybe you drove through a horde of zombies, or maybe you hit a barricade while trying to avoid a bloater. When your car starts smoking, it’s time for repairs.
In order to repair the damage taken by your vehicle, you need a toolkit. Early on, you can scavenge for toolkits at auto repair shops and similar locations. After you upgrade your Workshop to a Workshop 2, you can also craft them using parts. To repair your vehicle, just move to the front and follow the prompt that appears on screen. It’s a good idea to keep one or two kits around just in case a juggernaut decides your car would make a great punching bag.
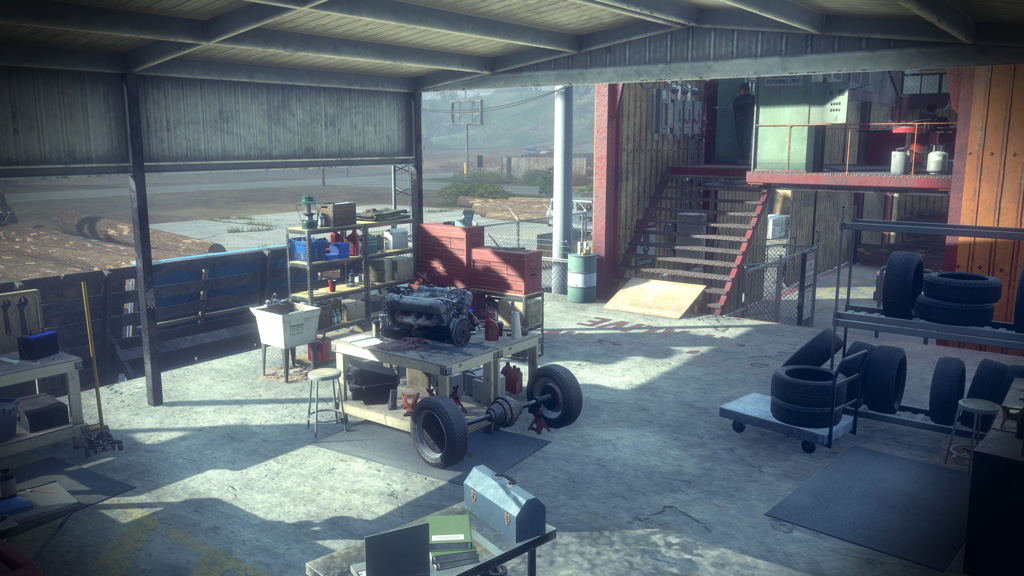
If you construct the Auto Shop facility, you can craft vehicle upgrade kits that transform your ordinary cars and trucks into apocalypse-ready beasts. These upgrades typically increase the vehicle’s durability, speed, storage space, and/or fuel capacity. Each upgrade kit (light, medium, heavy) describes which vehicles it can transform, so be careful to craft the right one for your favorite car or truck!
Sometimes, you might take a risk driving in order to get somewhere quickly or to avoid the aforementioned juggernaut. This can result in your vehicle becoming stuck in a ravine or high-centered on a rock. To overcome this annoyance, use the ‘Stuck?’ radio command while in the driver’s seat.
STEP EIGHT
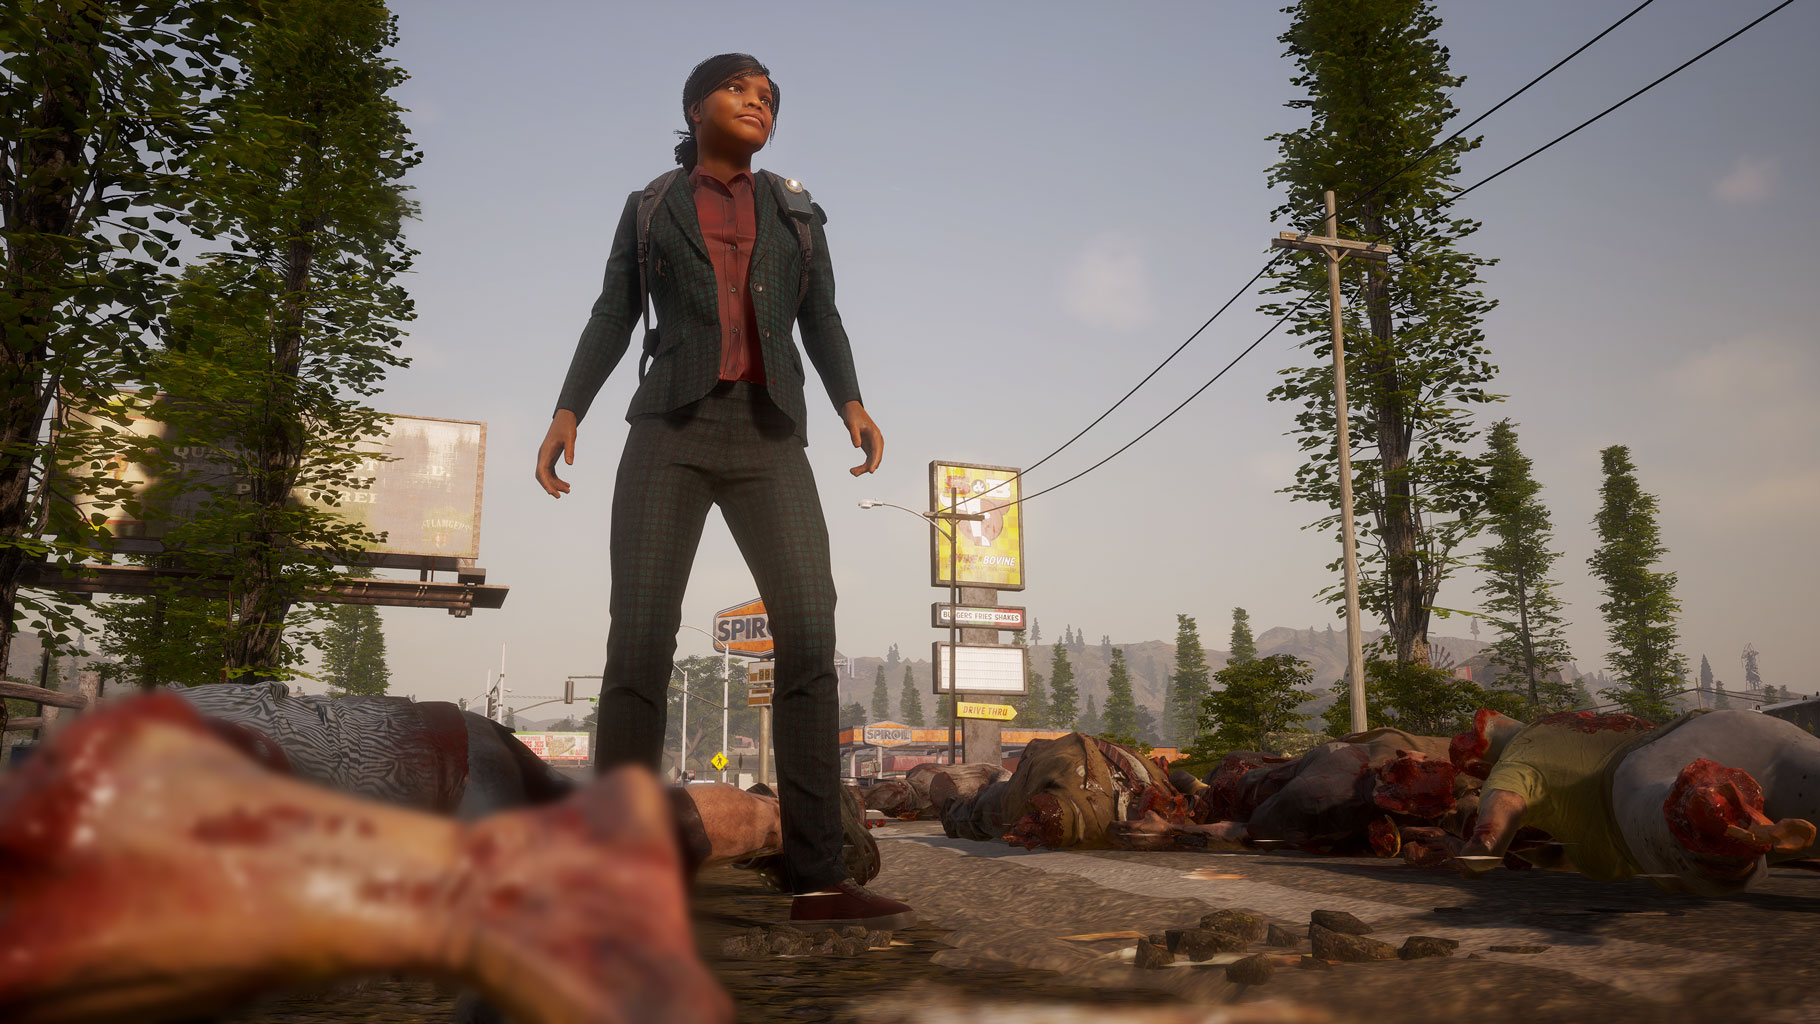
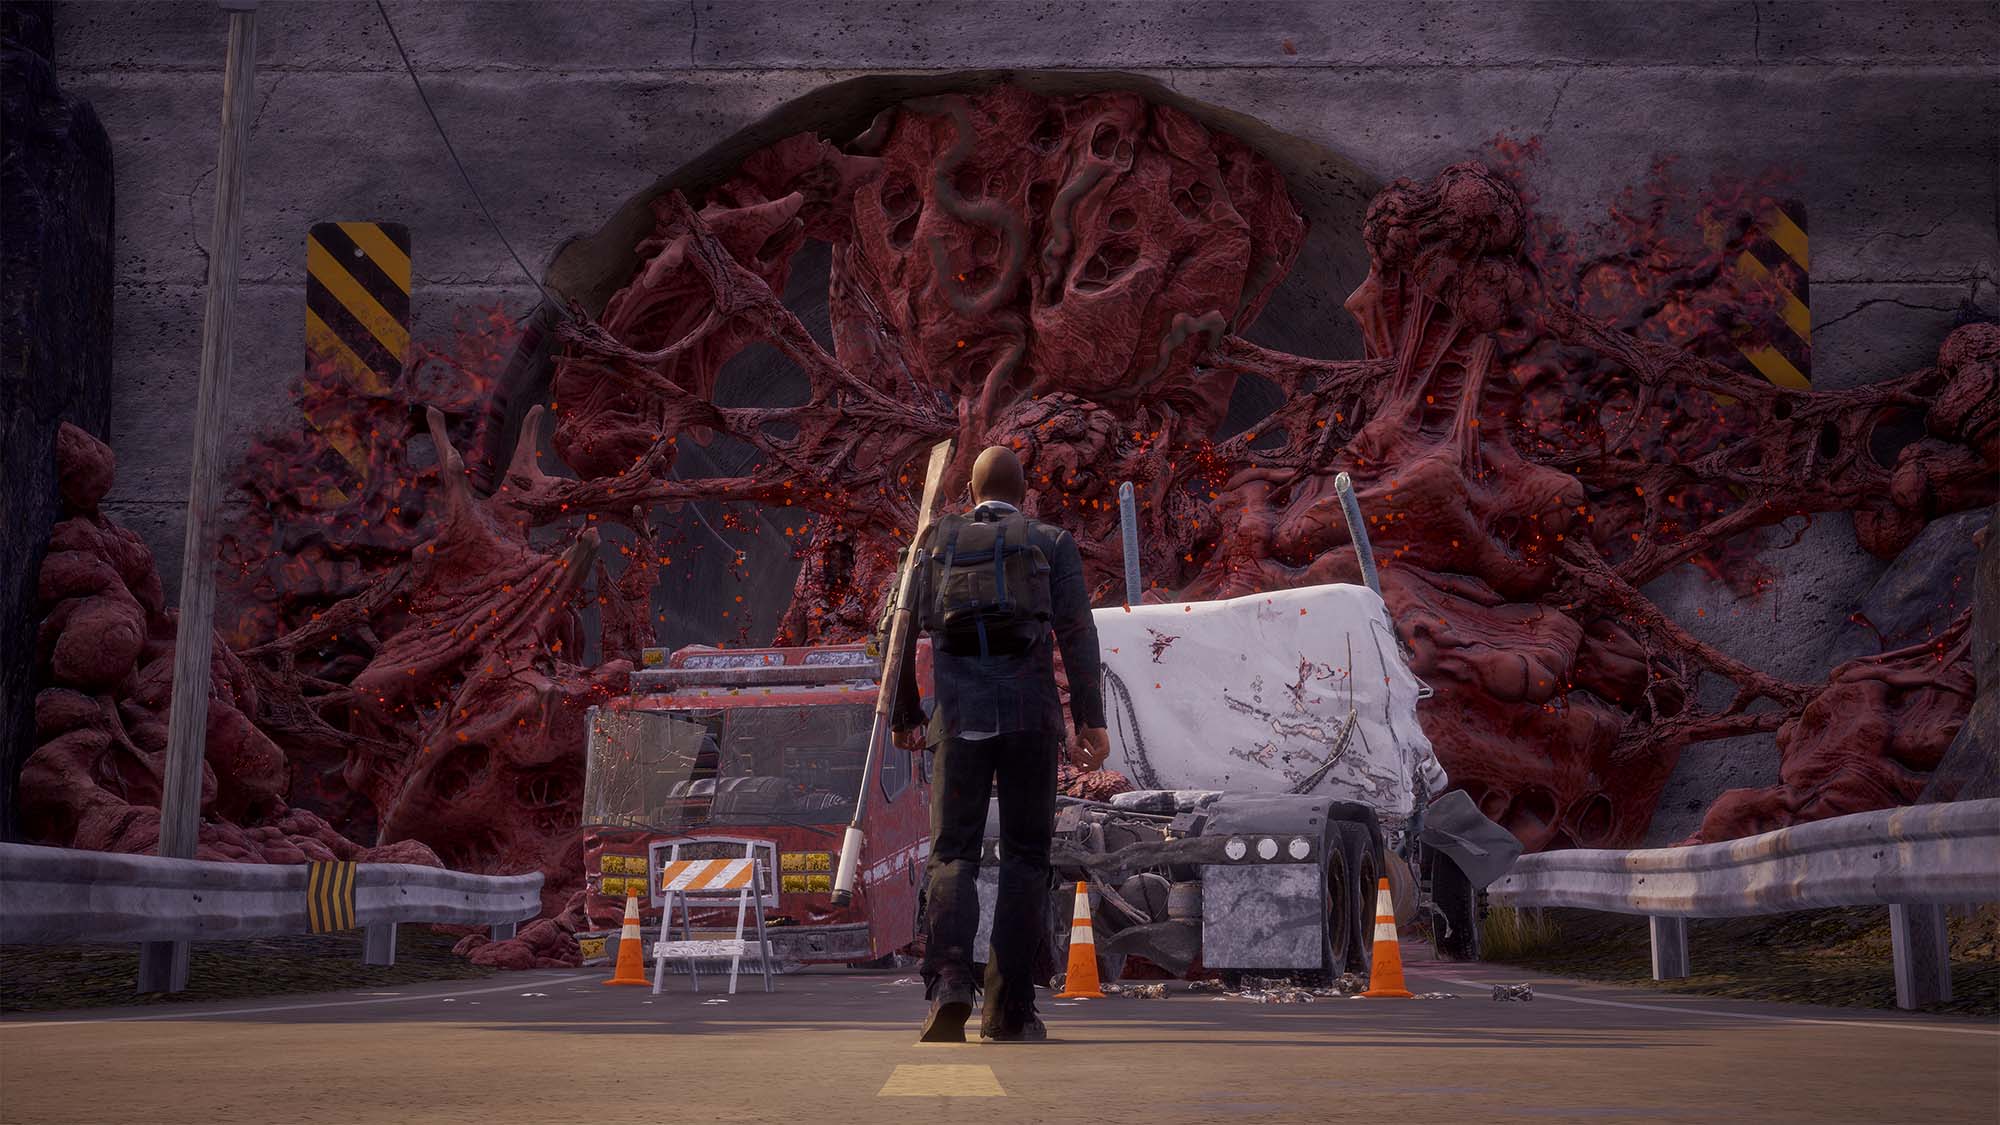
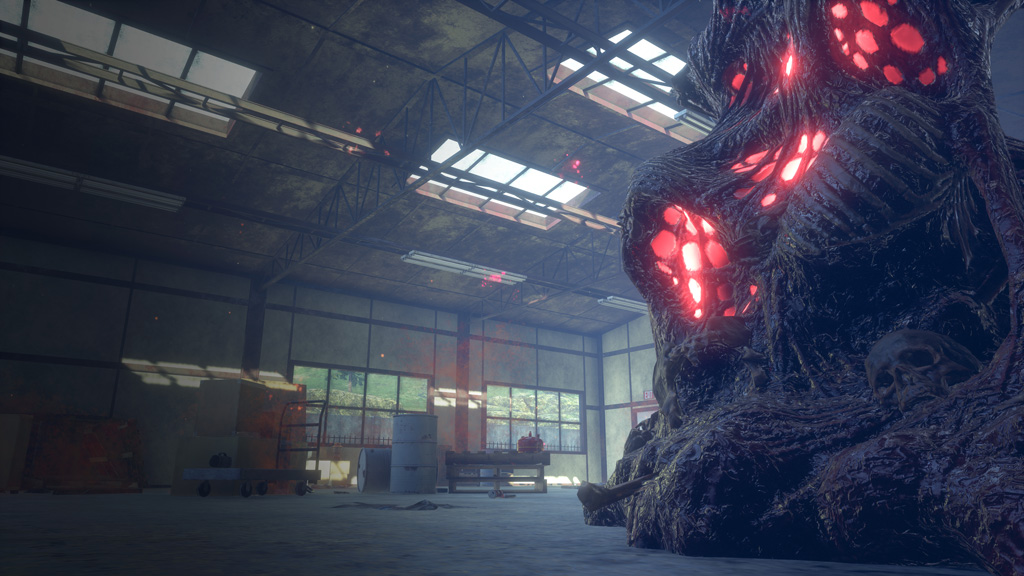
Surviving Blood Plague
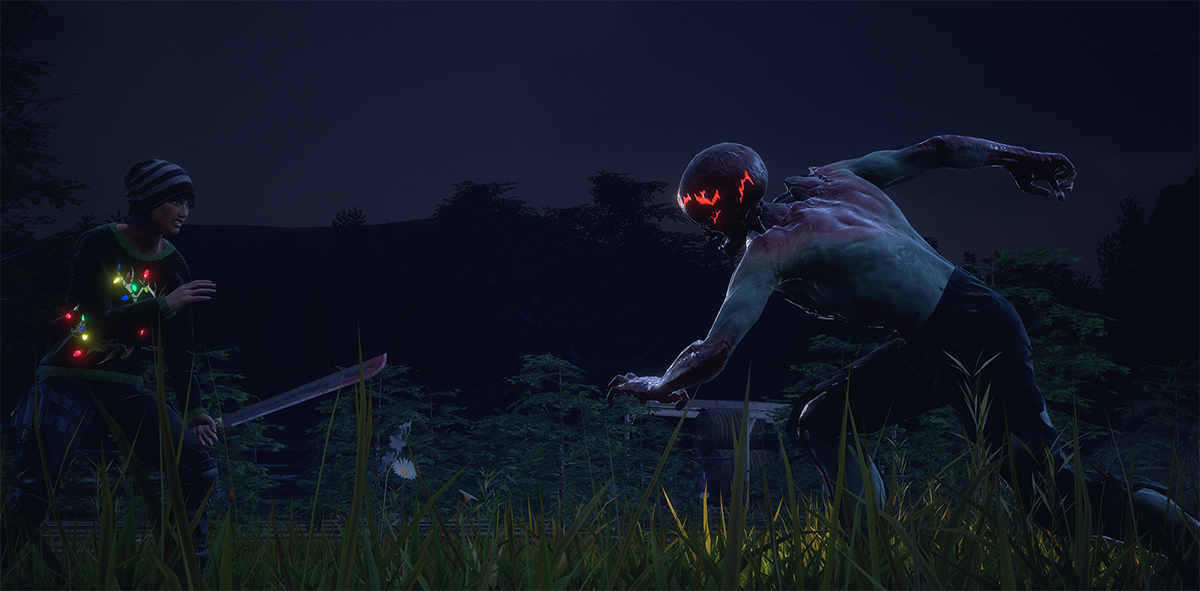
In addition to the obvious threats of hungry zombies and starvation, State of Decay 2 presents your survivors with a virulent disease called blood plague. This illness is transmitted by certain zombies, which can be identified by their red, bloody appearance. When one of these plague zombies strikes or bites a survivor, that character begins to contract blood plague. This is shown by an “infection meter” that appears above your Health and Stamina meters in the HUD.
If your survivor continues to battle plague zombies, this plague meter will continue to fill up. Should this meter become completely full, the survivor contracts full-blown blood plague and has only a limited time left to live. Before reaching that point, you can visit your Infirmary and use the ‘Infection Therapy’ action to remove the partial infection. This costs a few plague samples, which you can collect from slain plague zombies. Alternatively, you can let a partially infected survivor rest to rid themself of their sickness
Once you have contracted blood plague, the only means of removing it is to craft and consume a dose of plague cure. This method is expensive, costing both meds and plague samples. If you don’t have the resources, your options include checking the sick character into your Infirmary (where they’ll be stable but unavailable for use), or exiling or euthanizing them. Blood plague is a remorseless killer, which is why your survivors are focused on ridding the town of this menace.
STEP NINE
Special Traders
Traders in State of Decay 2 serve a particular purpose. Some of them are unique and appear rarely. Some of them have special conditions that must be met.
Bounty Boker
Cash Beaumont is the Bounty Broker. He shows as an enclave on your map. After visiting him, you can choose up to three bounties to complete in order to unlock items. As the bounties are completed, you return to Cash Beaumont and he gives you rewards. These rewards vary, but once they are unlocked, they are available for purchase in every community you ever build. Visit him freely and often to get access to or purchase items that cannot be found anywhere else!

Mysterious Wandering Trader
The Mysterious Wandering Trader has some of the most unique items in the game for sale. Their inventory is second to none, but they only show up on certain days of the week. Between Friday and Sunday (based on your local time zone), you have a chance for this trader to show up and peddle their wares. You have to locate them, but once you do, they offer items that are unique or extremely rare. From facility mods to rare weapons, this trader has everything you want and then some. Make sure to check them out before they move on to a more lucrative town!
Rare Skills Trader
The Rare Skills Trader can show up any day of the week and they carry skill books that you cannot find anywhere else. They carry books for upgrading or adding skills to your survivors – some of which are exceedingly rare.
STEP TEN
Completing the Game
The main storyline of State of Decay 2 has three phases. Your goals guide you through these phases, but you’re always free to pursue alternative goals rather than pushing the main story forward.

At the start of the game, you must focus on building up your community so that it’s not always facing extinction from zombies or starvation. During your first playthrough, the game guides you through this process, including the important task of selecting a leader for your community. Choosing a leader represents your group determining what their priorities are for survival. Each of the four leader types (Warlord, Sheriff, Trader, Builder) approaches this task a little differently, as indicated by their dialogue and their goals.
Once you’ve chosen your leader, the game points you toward defeating the blood plague. As strong as your community might become, you’ll never truly feel safe until you’ve eliminated all the plague hearts from your town. You can pursue this goal at your own pace, building up your strength and resources for each new assault. Be careful, because this gets harder as you go!
After defeating the last of the plague hearts, your leader announces their plans for a lasting legacy for the town. This is a relatively short set of tasks that unfold one at a time, aligned with the leader’s personality and priorities. Completing your leader’s legacy ends the game and “retires” that community and its inventory. Each character in that community is added to your “Legacy Pool,” which is a list of survivors available to be added to a future community that you start. These characters show up with whatever they were carrying when their prior community was retired.
Completing the game also earns a potent boon that your future communities can take advantage of. Each of the four leaders has their own boon, and each boon leads to very different strategic and tactical decisions in your next playthrough.
STEP ELEVEN
Additional Modes
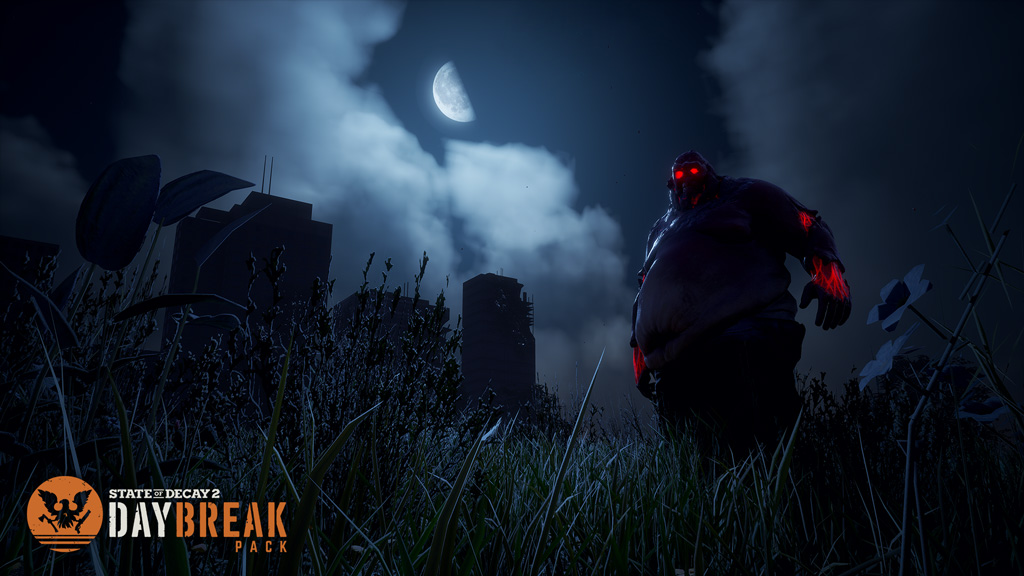
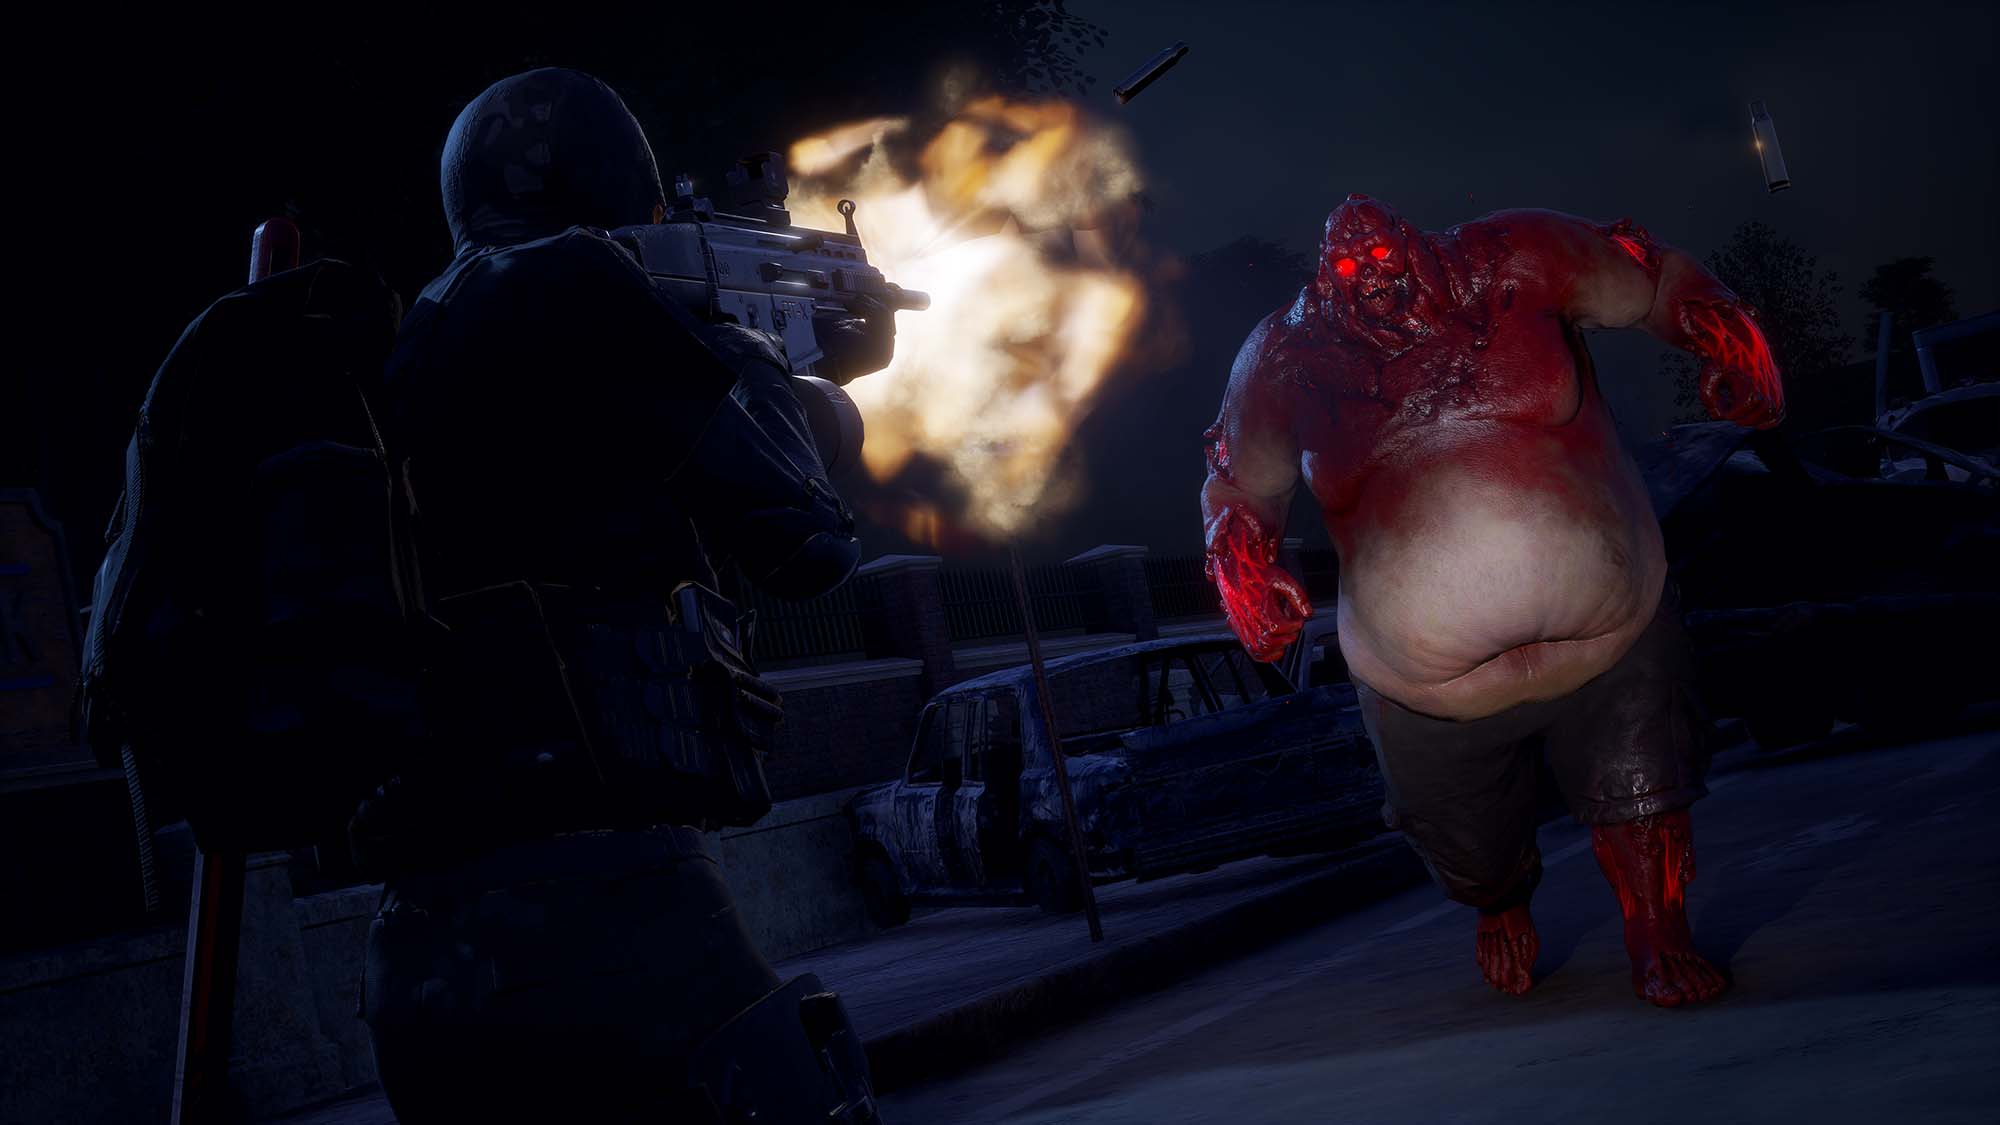
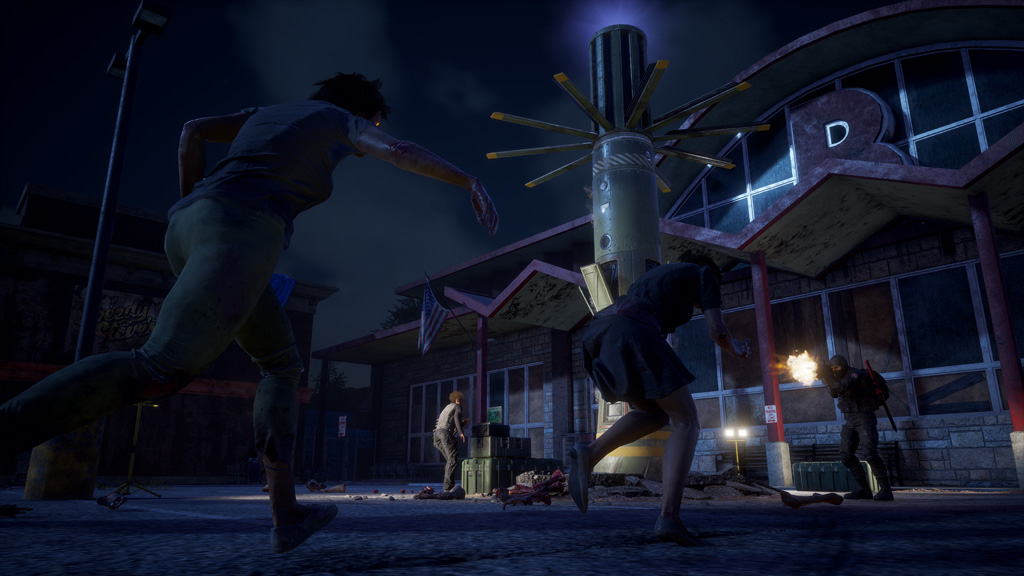
Daybreak
Daybreak is the “arcade mode” for State of Decay 2. It’s great for a quick drop-in, session-based experience, and it’s ideal for multiplayer.
Instead of playing a community of survivors with long-term survival goals, you play a soldier who must defend a position against seven waves of attacking zombies. Up to 4 players can cooperate in Daybreak, and you’ll want as much help as you can get!
Playing Daybreak unlocks two different types of rewards. First, your success during the session unlocks better weapons and gear that you can use in future Daybreak sessions. This better gear lets you survive longer, which in turn lets you earn even more gear! These unlocks occur after surviving waves 3, 5, and 7 during a session of Daybreak.
Second, your progress also grants you a currency called Prestige, which can be used by any of your regular communities to purchase some of the weapons and gear found in Daybreak (or even for more potent rewards). Over time, you’ll slowly unlock more purchase options (each time you complete wave 3, 5, or 7 during a session). Use your radio commands to access these special options.
Surviving multiple zombie waves in Daybreak isn’t easy. Managing your resources–such as your ammunition, or your soldier’s Health–are critical to your success. The fewer resources you use in the early rounds, the more you have available when the horde becomes harder to manage. Some additional resources become available between each wave starting after the second, but these are not enough to overcome poor decision-making!
Heartland
Heartland is a special stand-alone story for State of Decay 2. As you play through the story, you’ll meet intriguing, unique characters, face new and terrifying threats, and learn more about the mystery of the blood plague.

When you start a game of Heartland, you choose between two different pairs of heroes. Each of these characters brings their own twist to the story, allowing you to play Heartland a second time for a different experience. Note that Heartland only allows one active save, so you’ll want to finish one version before starting another.
Heartland includes familiar foes such as plague zombies, juggernauts, and plague hearts. In addition, this story introduces plague-infected versions of ferals, bloaters, and screamers that push your survivors to develop new combat strategies.
As a special treat for fans, Heartland sends you to a familiar location: Trumbull Valley, the region featured in the first State of Decay. Whether you’re new to the game or have been around for years, this map has plenty of fun locations to discover and explore.

STEP TWELVE
Multiplayer
No One Survives Alone!
State of Decay 2 can be played either solo or multiplayer. You can join your friend’s game or have them join yours. When you’re visiting another player’s game, you’re there to help them succeed. You bring a survivor from one of your active communities, and together you can scavenge locations on the map and complete the host’s goals.
While visiting a friend, you’ll have access to your own community’s Supply Locker, so you don’t have to borrow stuff from your buddy. You won’t gain standing for your visiting character, but you can still collect items and resources and build your skills. Plus, helping your friend earns you a nice chunk of influence and other rewards upon returning home.