Define Your Apocalypse
Difficulty Settings
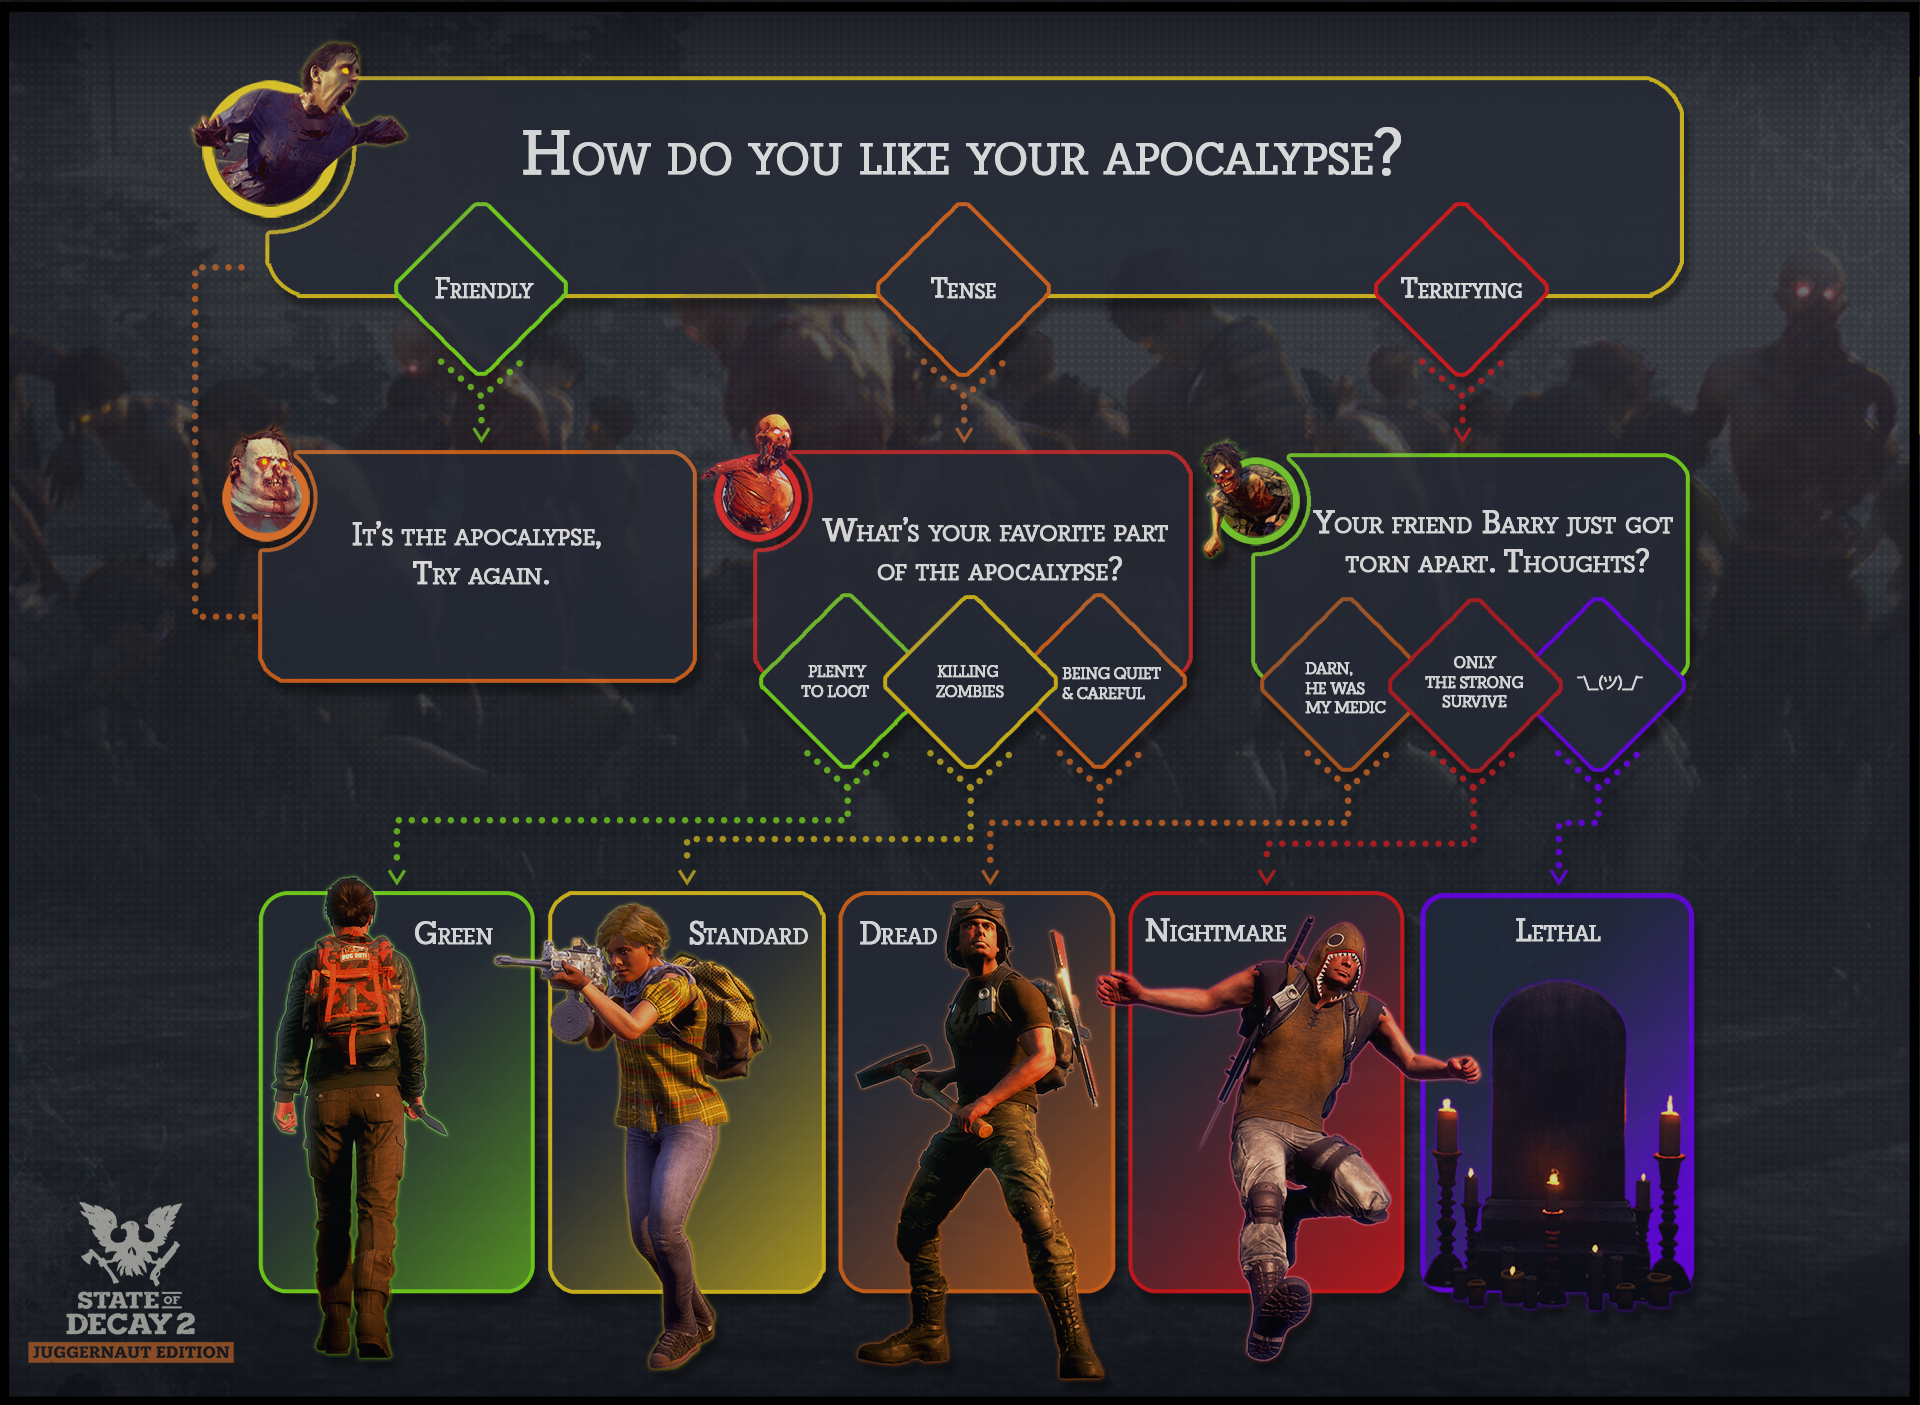
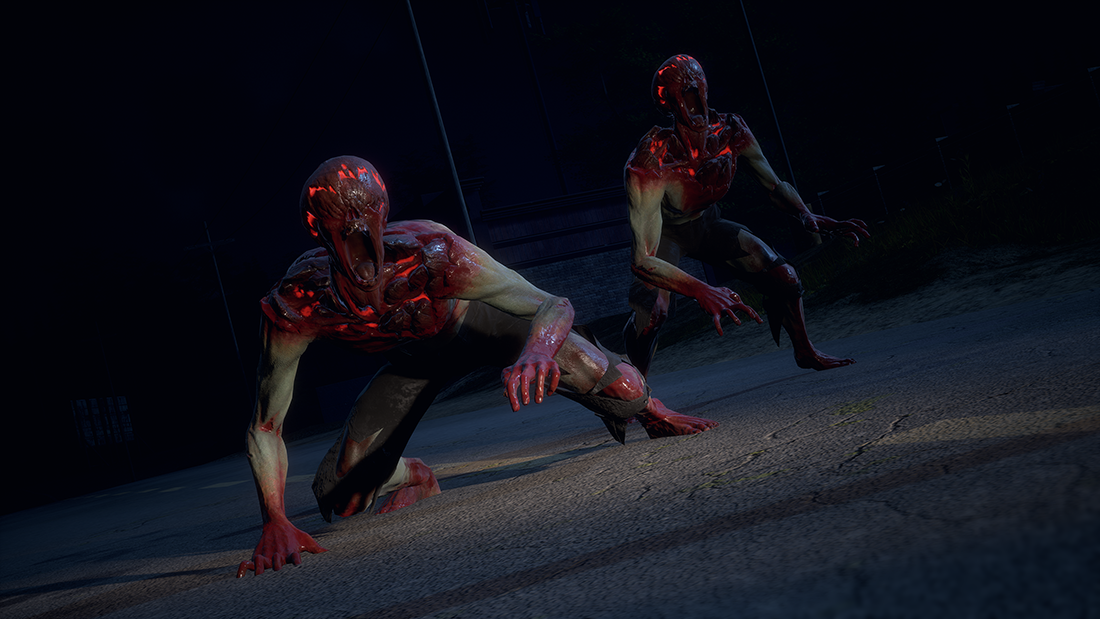
State of Decay 2: Juggernaut Edition provides 5 difficulty settings which allow you to customize the difficulty levels for 3 different aspects (Action, Map, and Community) of your experience. Raising the difficulty makes zombies, freaks, and hostile enclaves deadlier and more common.
With increased difficulty, resources become scarcer, facilities more expensive to maintain and use, and vehicles more fragile and harder to find. On top of all that, the toughness and amount of plague hearts rise. It’s easier to contract blood plague, and blood plague becomes deadlier, faster.
Green
Think of Green Zone as a more relaxed, accessible apocalypse, designed for all gamers who’d like to explore what’s possible in State of Decay 2 without enduring quite so much stress. For more information on Green Zone see Update 18’s patch notes.
Standard
This difficulty level is perfect for new players with a standard level of knowledge of gaming mechanics. Playing in the Standard Zone should provide you with some challenge without overwhelming you.
Dread
Dread Zones are intended for survival game veterans. This is where resources start to decrease quite a bit, facilities become noticeably more expensive, vehicles more fragile, and the zombie and human threats deadlier. Of course, don’t forget that plague hearts are tougher to beat. It’s not an easy step up from Standard, enter at your own risk. For more on Dread Zone, see Update 7’s patch notes.

Nightmare
Nightmare Zones provide a terrifying experience for our very experienced players. In addition to all the increased challenges, these areas feature even larger zombie hordes, wandering groups of freak zombies, and more plague hearts to defeat. Nightmare Zone leaves very little for errors. For more on Nightmare Zone, see Update 7’s patch notes.
Lethal
This ultra-hardcore difficulty mode presents the very toughest version of State of Decay 2. Zombies are at their most dangerous, resources and weapons are scarce, and blood plague kills you even faster than in any other difficulty setting. On top of that, all the freaks are blood plague variants. You’re welcome. For more information about Lethal Zone, see Update 23’s patch notes.
Difficulty Sliders
With the Difficulty Sliders, you can fine-tune your difficulty settings to find just the right recipe for your taste. For example, if you prefer a quiet, desolate wasteland, you can turn up the difficulty on the Map slider and turn down the difficulty on the Action slider. If you like your combat extra-bloody but don’t want to stress over scavenging and community management, crank Action all the way to Nightmare or Lethal and set your other sliders at Standard or Green. With 125 different combinations to choose from, we think you’ll enjoy customizing your game experience in just the right way for you! To get to these options choose “Custom” on the difficulty screen.
For more information on difficulty sliders see Update 21’s patch notes.
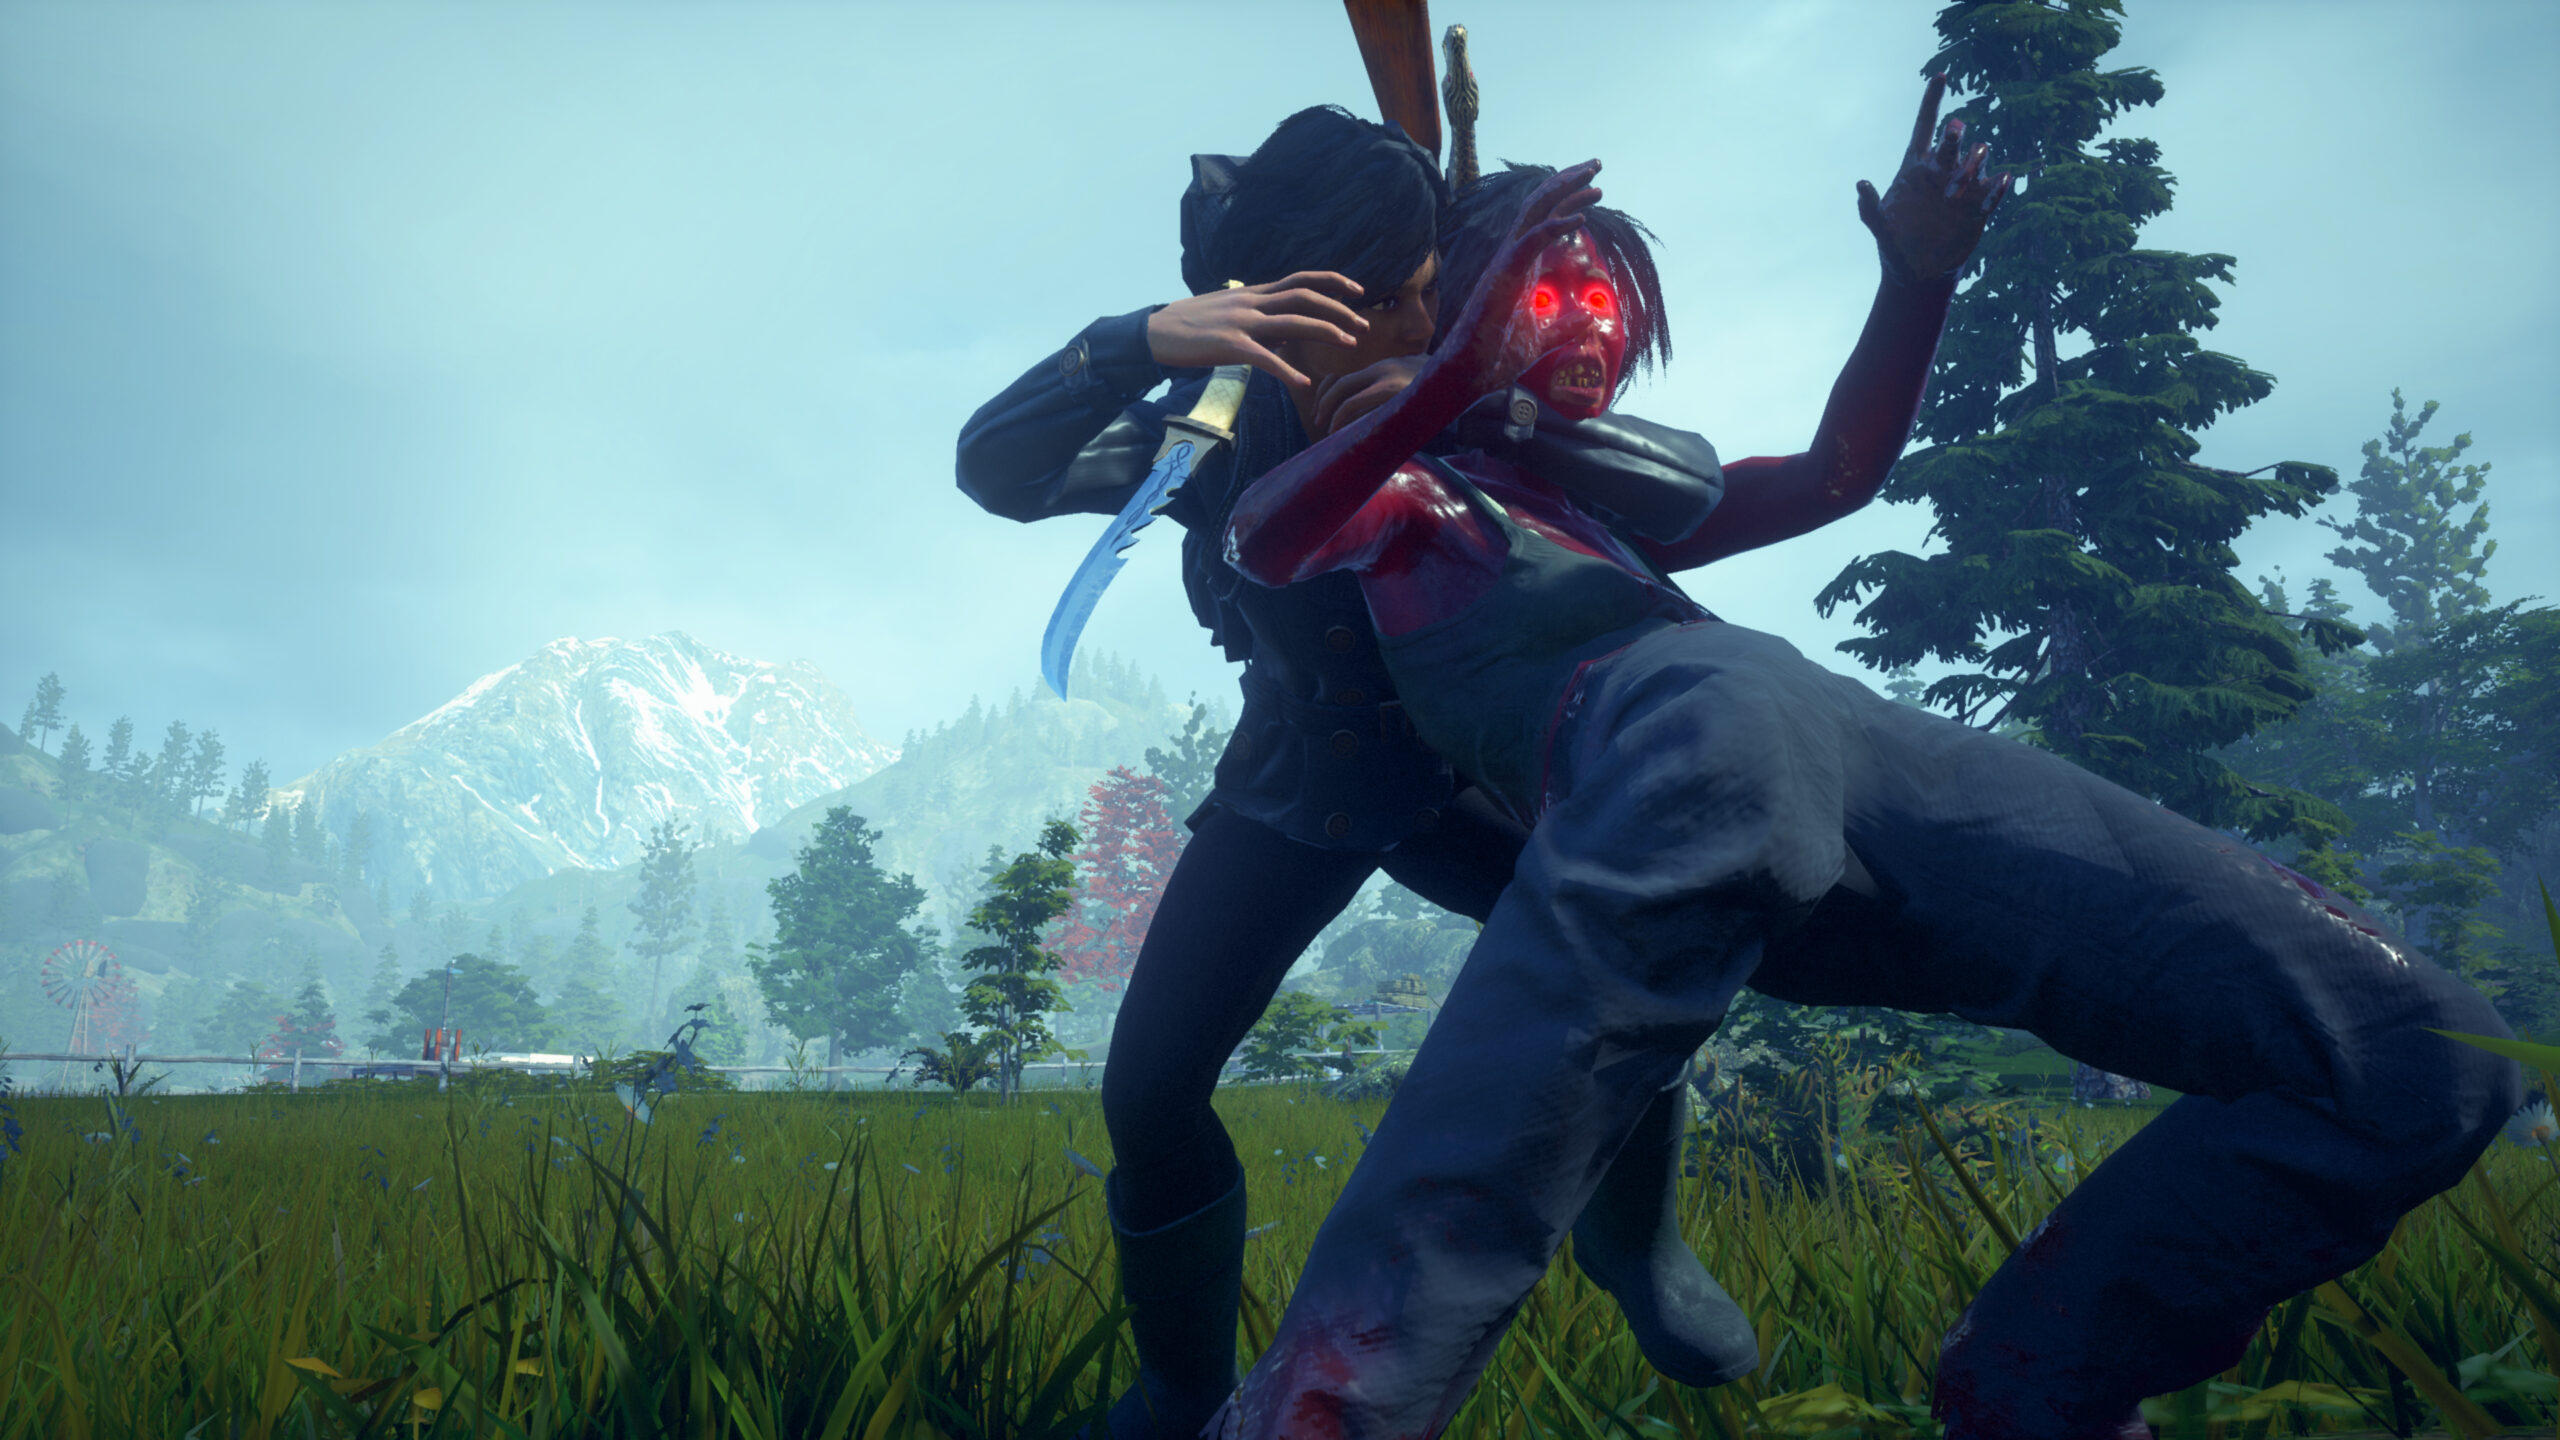
Action
Adjust the number and toughness of zombies, the rarity of freaks, the deadliness of hostile humans, the durability of vehicles and the virulence of blood plague.
Map
Make it easier or harder to scavenge the world and find the resources, weapons, items, and vehicles you need to survive and thrive. This slider also increases or decreases the number of plague hearts on your map.
Community
Tweak the challenge of building and maintaining a healthy community. Skills might improve faster or slower, morale is easier or harder to keep up, and resource costs and influence gains are increased or decreased, among other variables.
Changing Difficulty During Play
If you find the game is too easy or too hard, you can change the difficulty level without starting over. Open your map screen, and select the “Difficulty” tab. Here you can change the difficulty at any time. This moves your community to a brand-new version of the same map you’re on. All sites (including plague hearts) will reset to the appropriate difficulty. You will keep your current survivors, all your items and resources, and any vehicle within a parking space. But beware! Changing to a higher difficulty may disable your legacy boons unless the corresponding legacy has been completed on the higher difficulty.
Map Selection
There are 5 different maps to explore. You can choose one, or even leave it up to chance and select “random.” Don’t worry, your community can always move to a different map, but it will come at a slight cost. For more on changing maps, click here.
Each map has different bases, outposts, landmark outposts, and challenges to overcome. See more on landmark outposts here.
Drucker County
Drucker County is on a plateau, bisected by a treacherous canyon. It’s adorned with a mesa and some of the best medical facilities you’ll find anywhere. Drucker is the perfect place to rest and recuperate — once you’ve cleared out the zombies, of course.
Landmark Outpost:
Sasser Regional Hospital offers advanced treatment options.
Available Bases:
- Vogel House – Starter Base in Kettle Rock Bend
- Wally’s Bar and Grill – Small Base in Santa Maya
- Wheelhouse Truck Stop – Medium Base in Meturato
- Cabin Park Motel – Medium Base in Lake Brimley Park
- Mike’s Concrete – Large Base in Tamfield
- Knight’s Family Drive-In – Large Base in Knight’s Pass
- Barricaded Strip Mall – Huge Base in Mathilda
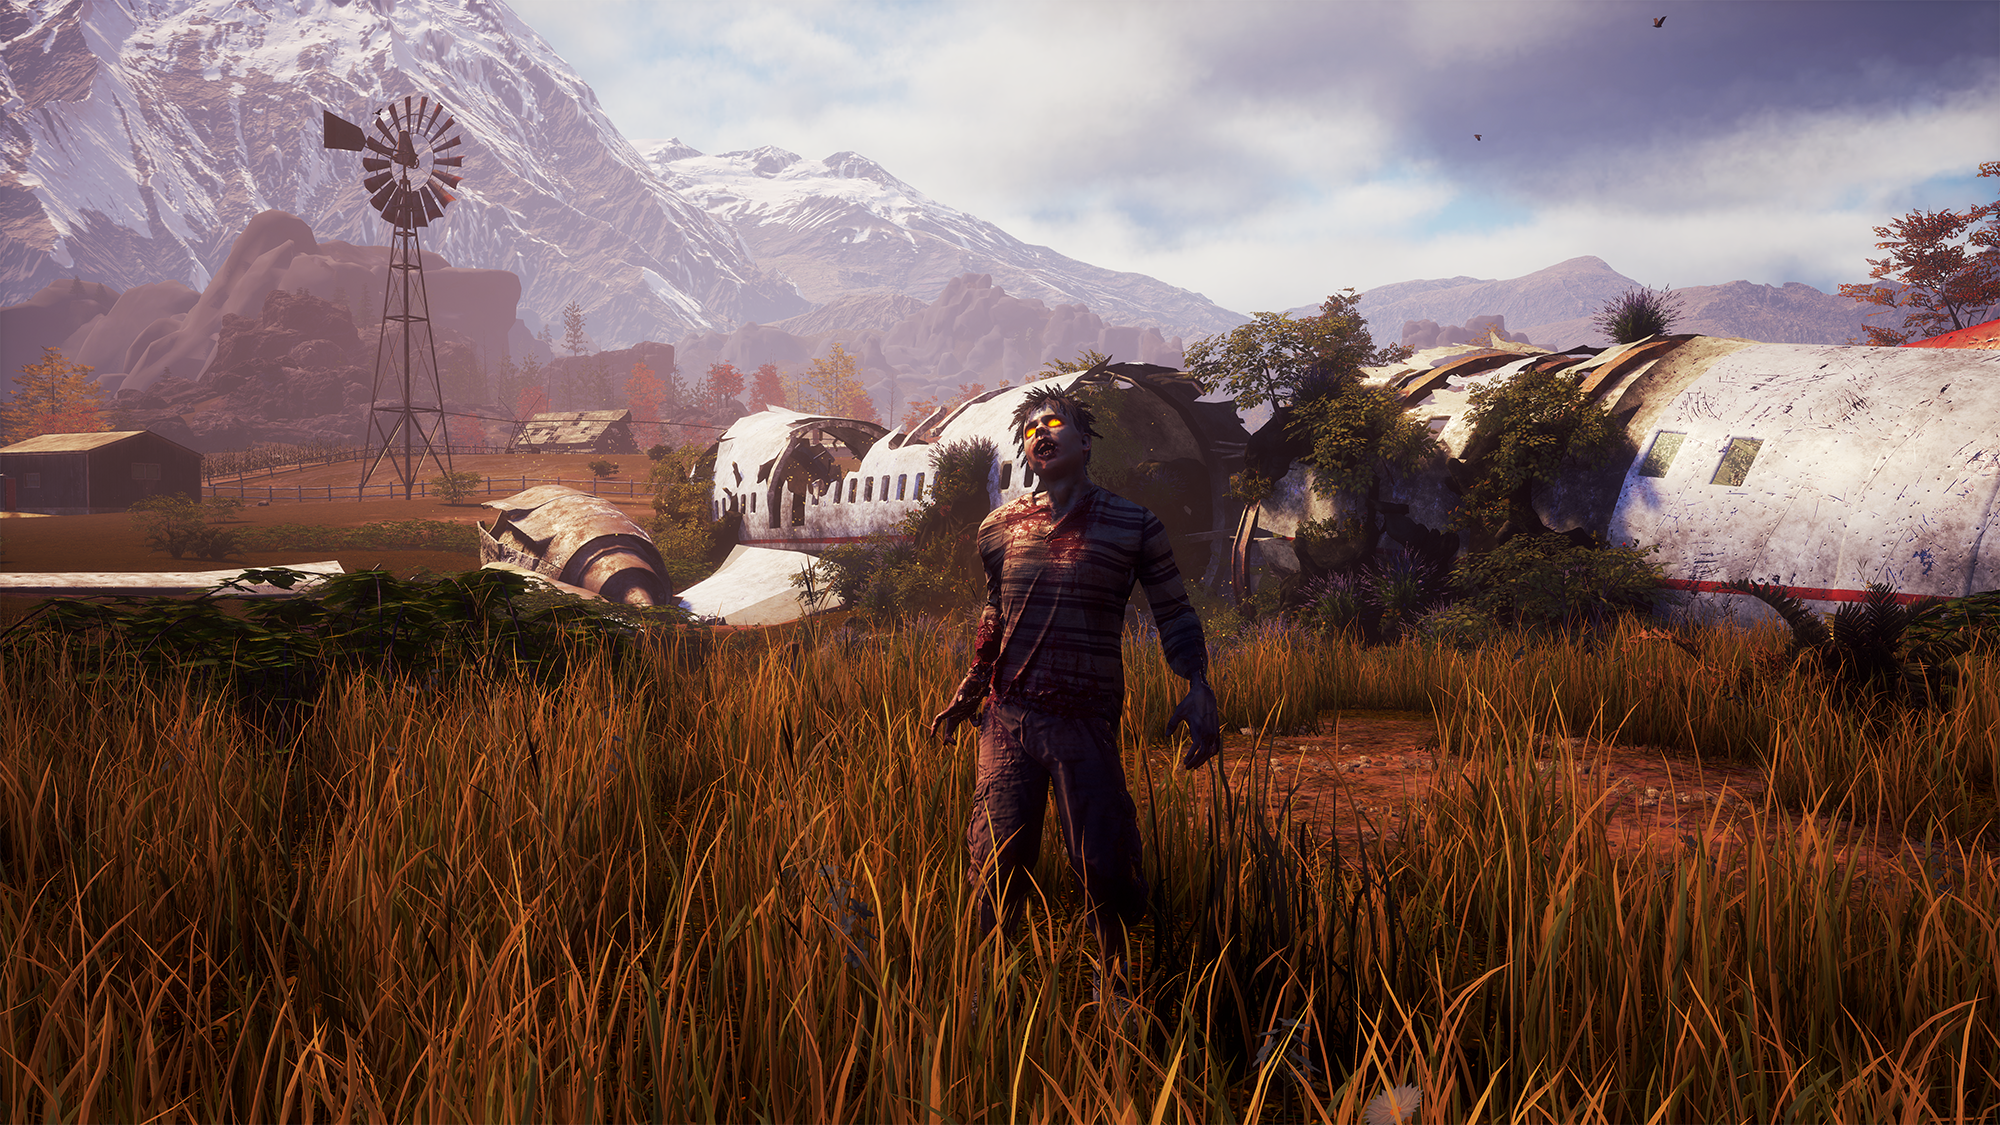
Meagher
Meagher Valley boasts some of the most fertile farmland in the apocalypse. A small river runs through its center and the farmers were on the cutting edge of modern power production with a small wind farm on the east side. Don’t miss out on visiting Lake Kelenqua and come back often.
Landmark Outpost:
The Wind Farm provides power throughout the valley.
Available Bases:
- Clarington House – Starter Base in Turtle Ridge
- Country Church – Small Base in Apatite Acres
- Camp Kelenqua – Medium Base in Lake Kelenqua
- Mazzara Farm – Medium Base in Flowering Flats
- Rural Police Station – Medium Base in Drover’s Bend
- Squelones Brewing Company – Large Base in Flowering Flats
- Whitney Field – Huge Base in Whitney Junction
Cascade
Cascade Hills is the home to several small streams and rivers with unique rock formations that make it a beautiful place to live. Its gently rolling hills host abandoned railroad tracks which pass by its rock quarry. A wonderful place to establish a brighter future.
Landmark Outpost:
Leeds Concrete Silo negates your materials to upkeep costs.
Available Bases:
- Justineau House – Starter Base in Eastman Heights
- Bridge Fort – Small Base in Morgan’s Landing
- Church on the Hill – Medium Base in Crossroads
- Corner Office – Medium Base in Lowl
- Loch & Keogh Self Storage – Large Base in Ditchwater
- Mohr & Mohr Distributing – Large Base in Talbot Park
- Container Fort – Huge Base in Lymeston
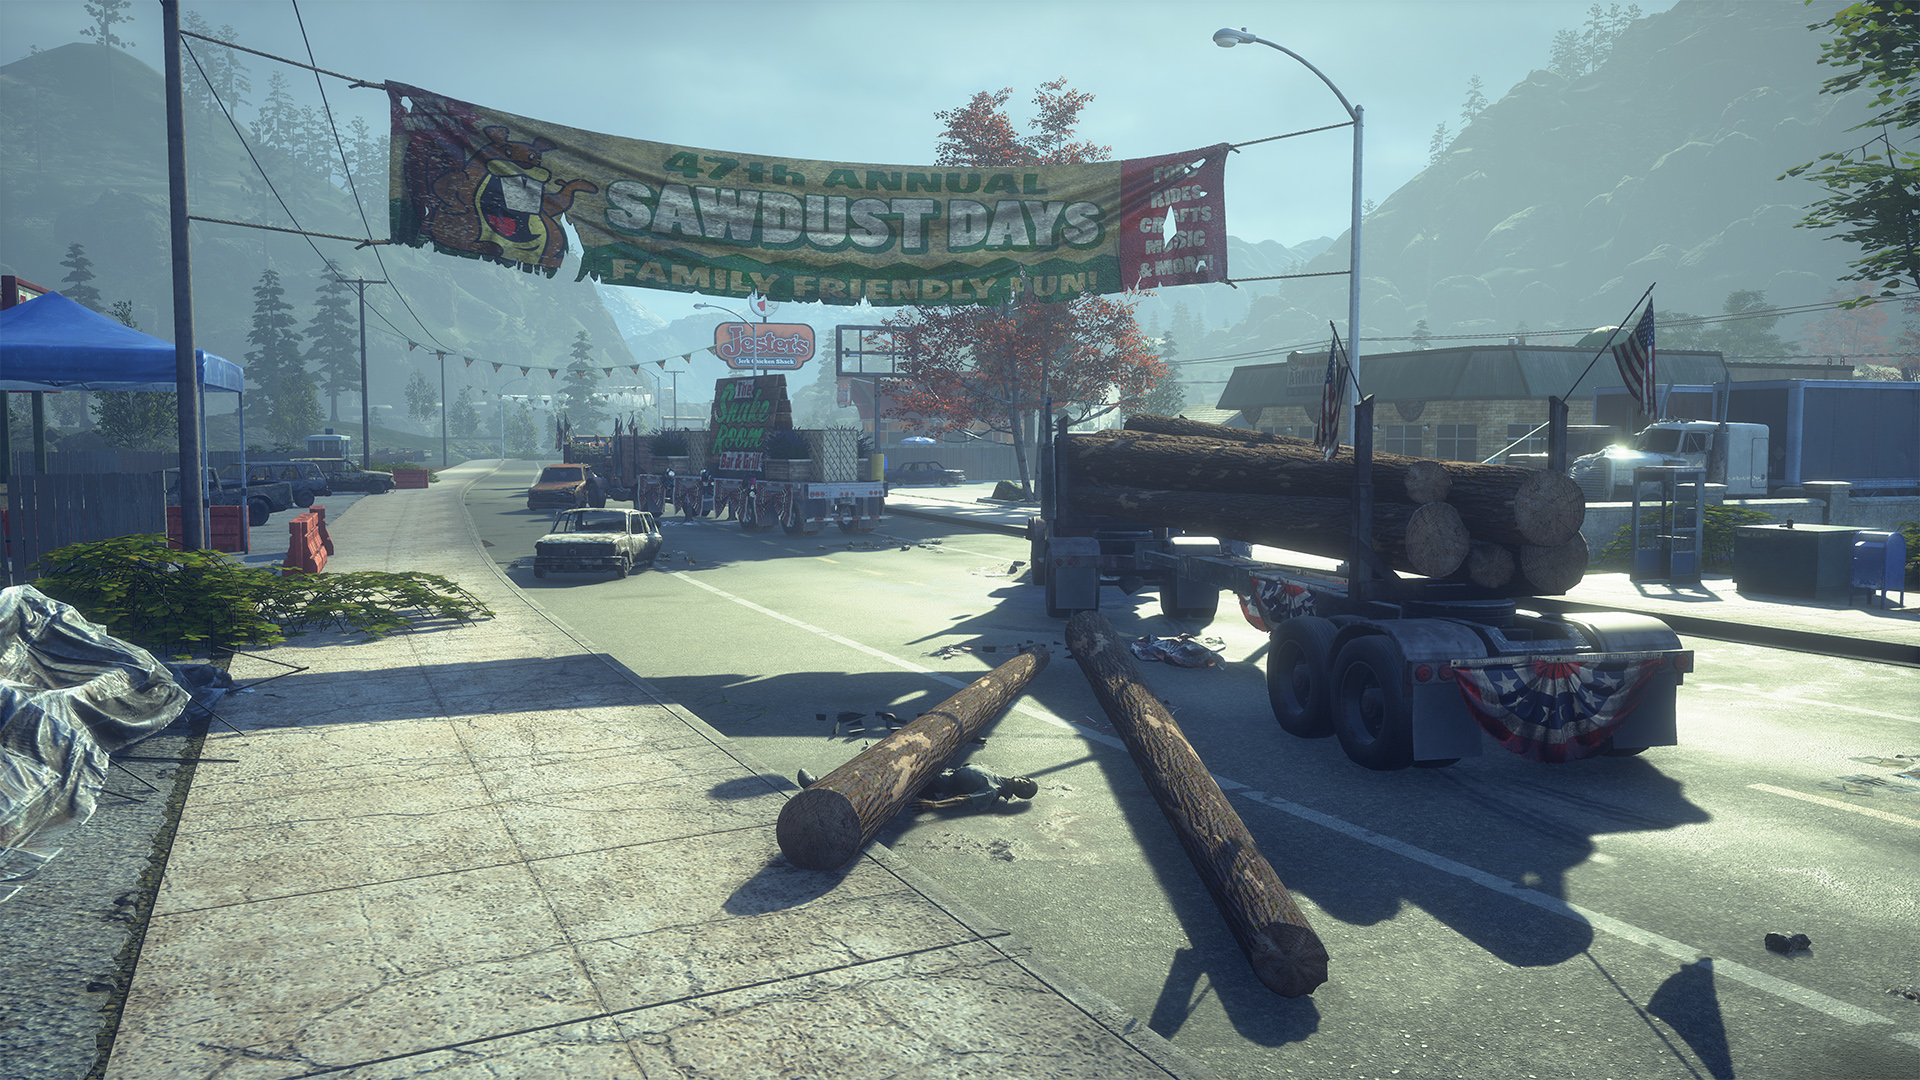
Providence
Home to a regionally famous lumber mill, Providence Ridge was fueled by the hustle and bustle of the logging industry — now in stasis from the first days of the outbreak. This mountain valley stands as a testament to the world as we knew it and what we hope to rebuild.
Landmark Outpost:
New Hope Church has many uses for a growing community.
Available Bases:
- Firewatch Fortress – Starter Base in Camp Winchester
- Rusty Rosie’s – Medium Base in Hobson Falls
- Western Builder Supply – Medium Base in Vista View
- Lundegaard Lumber Mill – Huge Base in Sawyer’s Crossing
- Prescott Fire Station – Huge Base in Prescott
Trumbull
Trumbull Valley lies nestled in the shadow of Mt. Tanner. Crafty survivors appreciate the unique bases and story elements, while the survivalists in all of us value the ample weaponry and ammo available. Tread lightly, explore rightly, and bring some really big guns.
Landmark Outpost:
Echo Lab unlocks crafting options for plague samples.
Available Bases:
- Checkpoint Delta – Starter Base
- Pterodactyl Park – Small Base
- Red Talon Daybreak FOB – Medium Base
- Tranquility Factory – Medium Base
- Farmland Compound – Large Base
- Fort Marshall – Huge Base
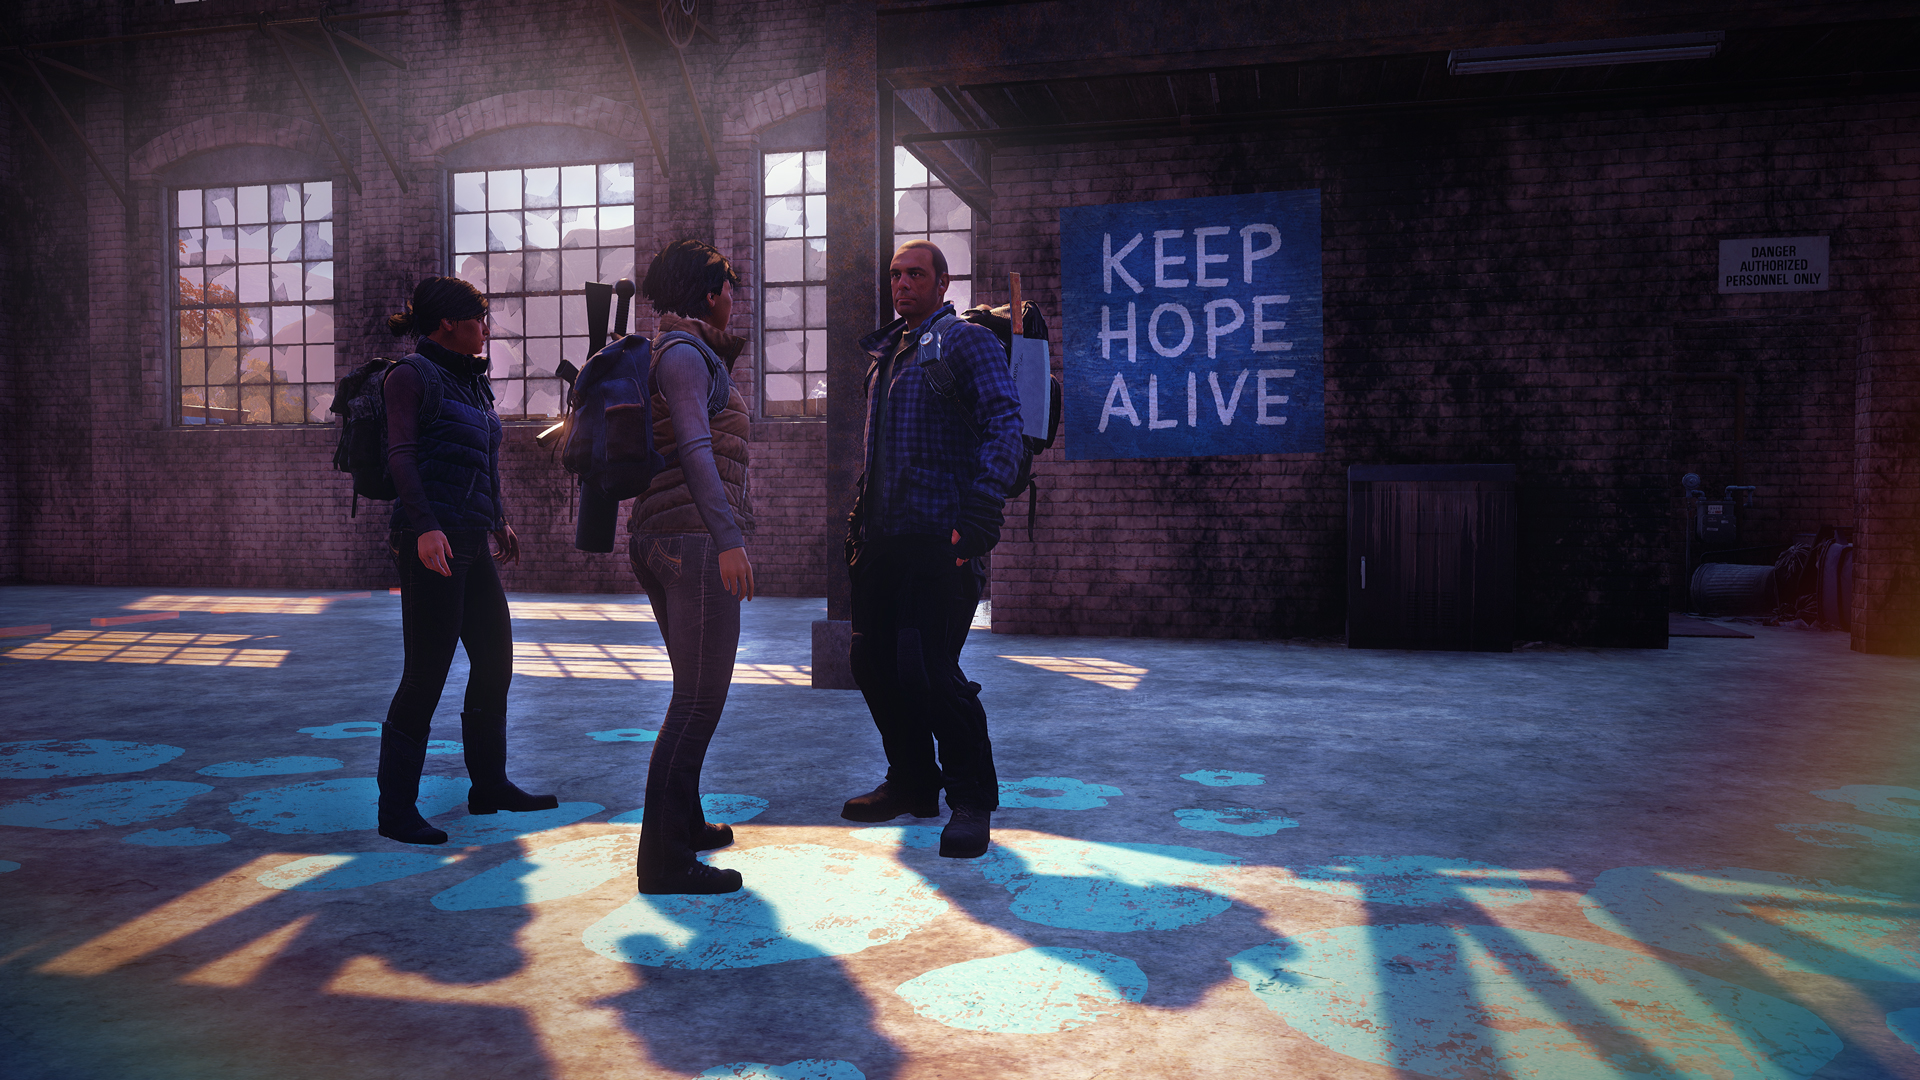
Character Selection
If you skip the tutorial, you will be taken to a character selection screen where you can scroll through random survivors or choose from your legacy pool. You start your community with 3 survivors. For more on your legacy pool, see Legacy Pools.
When selecting your characters, make sure to choose a variety of character skills and specializations, as these will benefit your community in different ways. For more information about survivors skills and specializations, see Skills & Specializations.
Did you just scroll past the perfect survivor? Don’t worry, you have the option to scroll back two survivors if needed.